Follow Me On Social Media!

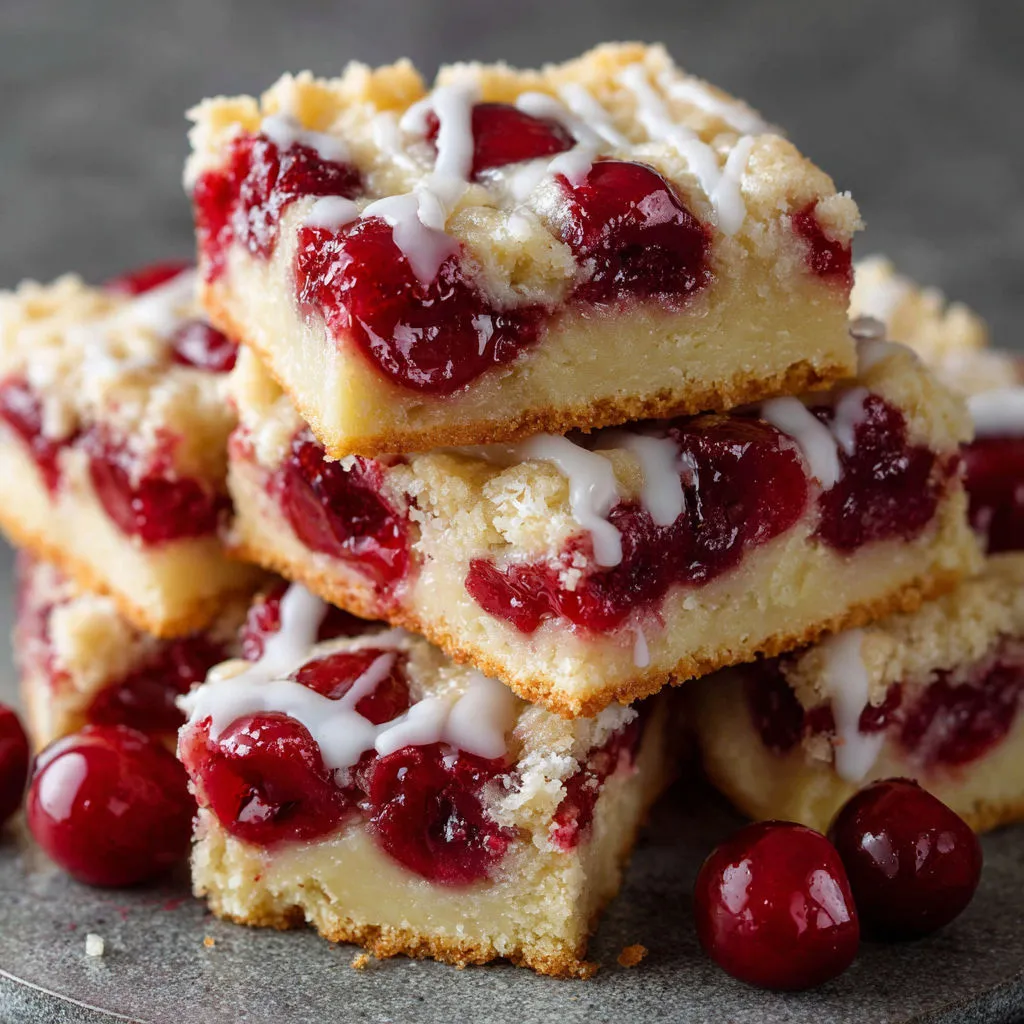
Looking to add a touch of festive cheer to your holiday baking lineup? Look no further than the beloved Christmas Cherry Bars Classic recipe! These delightful bars are a true embodiment of the season, with a buttery base that cradles the sweet and tangy cherry filling in every heavenly bite. Perfect for both casual baking with the little ones or for impressing guests at special gatherings, these bars are a timeless treat that never fails to evoke joy and nostalgia.
Originally discovered in my grandmother’s treasured recipe box, these Christmas Cherry Bars Classic have become a cherished tradition in my own family, adored by all and eagerly anticipated every holiday season. The rich red hues of the cherry filling paired with the tender buttery crust create a dessert that not only tastes divine but also captures the essence of Christmas in every slice. Whether you’re swirling the cherry ribbons with loved ones or savoring the finished bars with a cozy drink in hand, these treats are sure to bring warmth and happiness to your festive celebrations.
With just a handful of pantry staples, you can whip up these Christmas Cherry Bars Classic and share the joy of the season with everyone around you. Whether you’re serving them at a cookie swap, classroom party, or simply enjoying them at home, these bars are a delightful way to spread holiday cheer. So, gather your ingredients, preheat the oven, and get ready to create a batch of these timeless Christmas Cherry Bars Classic that will surely become a highlight of your holiday traditions.
Quick Benefits
- Classic holiday treat with a tender buttery base and bursts of sweet cherry filling
- Easy to make with simple pantry ingredients, perfect for baking with kids or special gatherings
- Can be stored for up to three days at room temperature, or frozen for longer storage
- Versatile recipe – swap cherry filling for other fruits, add almond extract, or try different glazes and toppings
Why You’ll Love This Festive Christmas Cherry Bars Recipe Recipe
- Nostalgic Holiday Favorite: Reminiscent of traditional Christmas treats, these cherry bars bring back memories of cozy family gatherings and festive baking sessions.
- Kid-Friendly Recipe: Perfect for baking with children, this recipe is easy to follow and allows for fun kitchen moments with the family.
- Vibrant Cherry Filling: The burst of sweet cherry filling in every bite adds a pop of color and a delightful contrast to the buttery base.
- Crowd-Pleasing Dessert: An ideal choice for parties, cookie swaps, and gatherings, these bars are guaranteed to disappear quickly from any dessert table.
- Easy Storage and Freezing: With simple storage instructions, these bars can be kept fresh for up to three days at room temperature or frozen for longer shelf life.
- Versatile Options: Swap cherry filling for blueberry, raspberry, or apple for a unique twist, and experiment with different extracts for added richness.
- Customizable Presentation: Dust with powdered sugar, garnish with nuts, or add colored sprinkles to tailor the bars to different occasions or seasons.
- Cherished Family Tradition: Create lasting memories by making these bars with loved ones, establishing a new holiday baking tradition for generations to come.
Ingredients for Festive Christmas Cherry Bars Recipe
Dough
- 3 cups (360 grams) all-purpose flour
- 1 teaspoon pure vanilla extract
- 1 teaspoon fine salt
- 2 cups (400 grams) granulated sugar
- 4 large eggs
- 1 cup (226 grams) unsalted butter, softened
Filling
- 1 can (21 ounces or 595 grams) cherry pie filling
Optional Glaze
- 2 tablespoons (30 milliliters) whole milk
- 1/2 teaspoon pure vanilla extract
- 1 cup (120 grams) powdered sugar
Pro Tips for Festive Christmas Cherry Bars Recipe
For a festive touch, try dusting the bars with extra powdered sugar or garnishing them with chopped nuts before serving. This will not only enhance the appearance but also add a delightful texture and flavor.
To keep the bars moist and fresh for longer, store them in an airtight container lined with wax paper at room temperature for up to three days. If you plan on freezing them for future enjoyment, wrap the bars well and layer them with wax paper to prevent sticking. Thaw the frozen bars overnight in the refrigerator before serving, and consider adding the glaze afterward for the best texture.
Don’t hesitate to get creative with this recipe by swapping out the cherry pie filling for other fruit options like blueberry, raspberry, or apple. You can also experiment with different extracts, such as almond extract, to introduce new flavors to the bars. These versatile adjustments will help you tailor the bars to different occasions and preferences, making them a hit with everyone who tries them.
How to Make Festive Christmas Cherry Bars Recipe
Step 1: Preparation
Preheat the oven to 350°F (175°C) and lightly grease a 9×13-inch (23×33 cm) baking pan.
Step 2: Cream Butter and Sugar
In a large mixing bowl, cream together softened butter and granulated sugar until pale and fluffy.
Step 3: Incorporate Eggs and Vanilla
Add eggs one by one, mixing well after each addition, then stir in the vanilla extract.
Step 4: Combine Dry Ingredients
Combine all-purpose flour and salt in a separate bowl. Gradually stir into the butter mixture until just combined.
Step 5: Layer Batter and Filling
Evenly spread about 3 cups of the batter in the greased pan. Distribute the cherry pie filling evenly over the batter.
Step 6: Top with Remaining Batter
Spoon small portions of the remaining batter over the cherry filling, leaving some filling exposed.
Step 7: Bake
Place in the oven and bake for 35-40 minutes until the top is golden brown and a toothpick inserted into the center comes out clean.
Step 8: Cool
Take the pan out of the oven and let the bars cool completely in the pan on a wire rack.
Step 9: Prepare Optional Glaze
For the glaze, whisk together powdered sugar, milk, and vanilla extract until smooth. Drizzle over cooled bars.
Step 10: Slice and Serve
Cut the bars to your preferred size, then serve at room temperature.
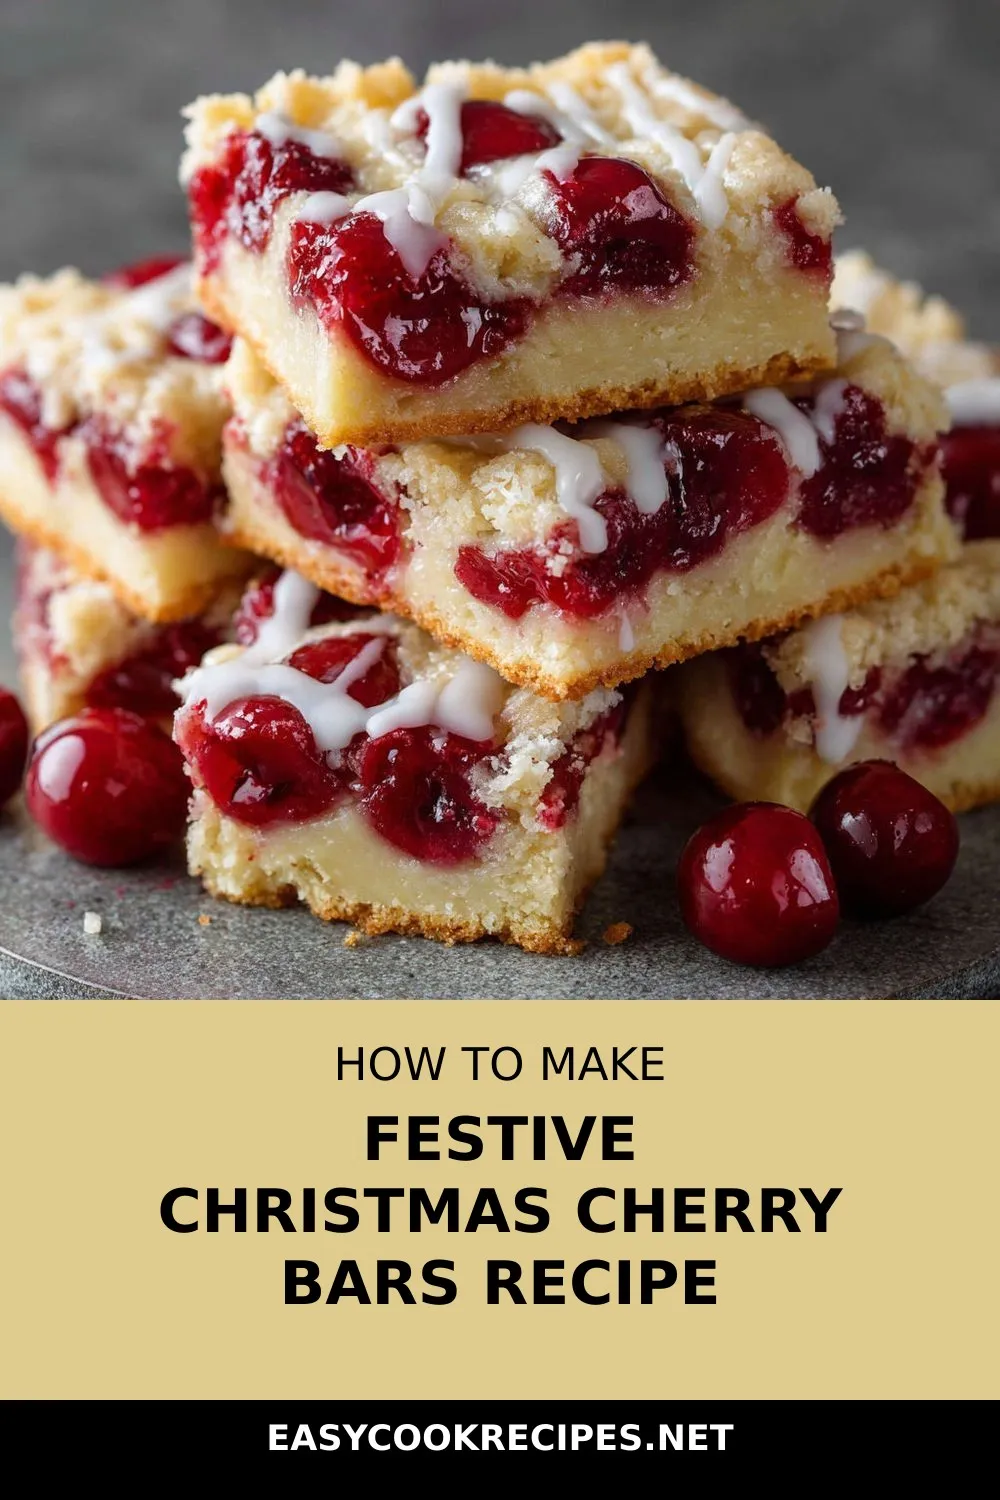
📌 Pin for later!
Storage Tips
After baking these delightful Christmas Cherry Bars, it’s essential to store them properly to maintain their freshness and flavor. Once cooled, store the bars in an airtight container at room temperature for up to three days. To prevent them from drying out, line the container with wax paper and add parchment paper between layers if stacking. For longer storage, freeze the bars by wrapping them well and placing them in the freezer for up to two months. When ready to enjoy, thaw the frozen bars overnight in the refrigerator and add the glaze after thawing if you froze them without it.
While the cherry filling in these bars is a classic choice, feel free to get creative with different fruit fillings like blueberry, raspberry, or apple for a fun twist. If you’re looking to enhance the flavor profile, consider adding a splash of almond extract to the batter. Additionally, if you prefer a gluten-free option, you can use a gluten-free flour blend in place of all-purpose flour, ensuring your other ingredients are also certified gluten-free. These bars are perfect for festive occasions and can be garnished with powdered sugar or chopped nuts for an extra special touch, making them a delightful addition to any dessert platter.
Ingredient Substitutions
For a fruity twist, consider swapping the cherry pie filling with blueberry, raspberry, or apple pie filling. These alternatives will give a new flavor profile to the bars while maintaining the burst of fruity sweetness in every bite. You can also try making your own homemade cherry filling for a more intense cherry flavor that will elevate the bars further.
If you prefer a different flavor profile, you can add a splash of almond extract to the batter to enhance the richness of the bars. This addition will complement the fruit filling and add a subtle nutty undertone to the buttery base. Additionally, consider trying different glaze variations, such as a lemon glaze for a springtime twist, or adding colored sprinkles for a festive touch perfect for birthday celebrations or special occasions.
When storing the bars, ensure they are kept in an airtight container at room temperature for up to three days, or refrigerate them for longer shelf life. If you plan to freeze the bars, layer them with wax paper to prevent sticking and thaw them at room temperature before serving. Remember, while the glaze adds sweetness and presentation, the bars are delicious on their own and can be enjoyed without it as well.
Serving Suggestions
For a delightful holiday presentation, stack the Christmas Cherry Bars Classic on a festive platter, dust them generously with powdered sugar, and garnish with crushed pistachios or slivered almonds for added texture and color. Serve them alongside a steaming cup of spiced mulled wine or apple cider to create a cozy and inviting dessert experience for your guests.
For a creative twist, cut the bars into bite-sized squares and skewer them with cocktail sticks for a whimsical and easy-to-eat party treat. Drizzle a lemon glaze over the bars for a fresh and tangy flavor that complements the sweetness of the cherry filling. These versatile bars are perfect for any occasion, from holiday gatherings to birthday celebrations, and are sure to be a crowd favorite with their nostalgic charm and delicious taste.
FAQs for Festive Christmas Cherry Bars Recipe
Can I use homemade cherry filling instead of store-bought?
Yes, homemade cherry filling works great and may add an extra burst of flavor to the bars.
How should I store the leftover bars?
Store cooled bars in an airtight container at room temperature for up to 3 days, or refrigerate longer.
Can I freeze these bars?
Yes, freeze sliced bars in layers with wax paper. Thaw at room temperature before serving.
Is the glaze essential for this recipe?
The glaze adds sweetness and presentation, but the bars are delicious without it as well.
Conclusion
As you embark on making these delightful Christmas Cherry Bars Classic, may the spirit of the holiday season fill your home with warmth and joy. Whether you’re baking for family gatherings, festive parties, or simply to enjoy a cozy moment with a cup of cocoa, these bars are sure to bring smiles to everyone’s faces. The rich history and tradition behind this recipe make it a special addition to your holiday baking repertoire.
Don’t hesitate to get creative with these bars – whether you swap out the cherry filling for another fruit, add a touch of almond extract, or experiment with different glazes, make this recipe your own. The versatility of these bars ensures they can be enjoyed all year round, spreading happiness and nostalgia with each batch. Embrace the joy of baking, and let the sweet aroma of these Christmas Cherry Bars Classic fill your kitchen with love and memories.
📌 Pin for later!
Festive Christmas Cherry Bars Recipe
“Indulge in the nostalgia and festive cheer with Christmas Cherry Bars – a buttery base bursting with sweet cherry filling, perfect for holiday gatherings and cozy moments.”
Prep Time20 min
Cook Time40 min
Total Time60 min
CuisineAmerican
Skill LevelEasy
Servings24 Servings (24 bar cookies)
Ingredients
Dough
- 3 cups (360 grams) all-purpose flour
- 1 teaspoon pure vanilla extract
- 1 teaspoon fine salt
- 2 cups (400 grams) granulated sugar
- 4 large eggs
- 1 cup (226 grams) unsalted butter, softened
Filling
- 1 can (21 ounces or 595 grams) cherry pie filling
Optional Glaze
- 2 tablespoons (30 milliliters) whole milk
- 1/2 teaspoon pure vanilla extract
- 1 cup (120 grams) powdered sugar
Instructions
-
Preparation: Preheat the oven to 350°F (175°C) and lightly grease a 9×13-inch (23×33 cm) baking pan.
-
Cream Butter and Sugar: In a large mixing bowl, cream together softened butter and granulated sugar until pale and fluffy.
-
Incorporate Eggs and Vanilla: Add eggs one by one, mixing well after each addition, then stir in the vanilla extract.
-
Combine Dry Ingredients: Combine all-purpose flour and salt in a separate bowl. Gradually stir into the butter mixture until just combined.
-
Layer Batter and Filling: Evenly spread about 3 cups of the batter in the greased pan. Distribute the cherry pie filling evenly over the batter.
-
Top with Remaining Batter: Spoon small portions of the remaining batter over the cherry filling, leaving some filling exposed.
-
Bake: Place in the oven and bake for 35-40 minutes until the top is golden brown and a toothpick inserted into the center comes out clean.
-
Cool: Take the pan out of the oven and let the bars cool completely in the pan on a wire rack.
-
Prepare Optional Glaze: For the glaze, whisk together powdered sugar, milk, and vanilla extract until smooth. Drizzle over cooled bars.
-
Slice and Serve: Cut the bars to your preferred size, then serve at room temperature.