Follow Me On Social Media!

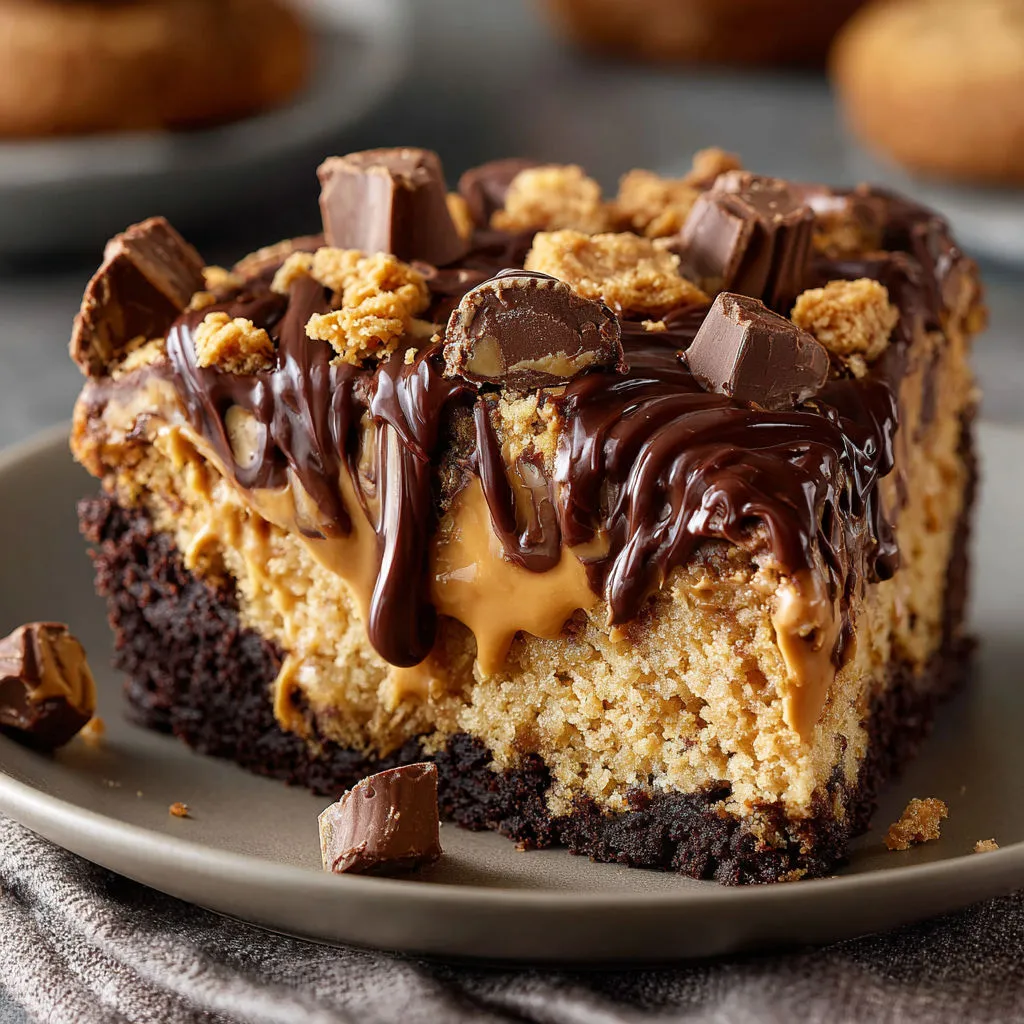
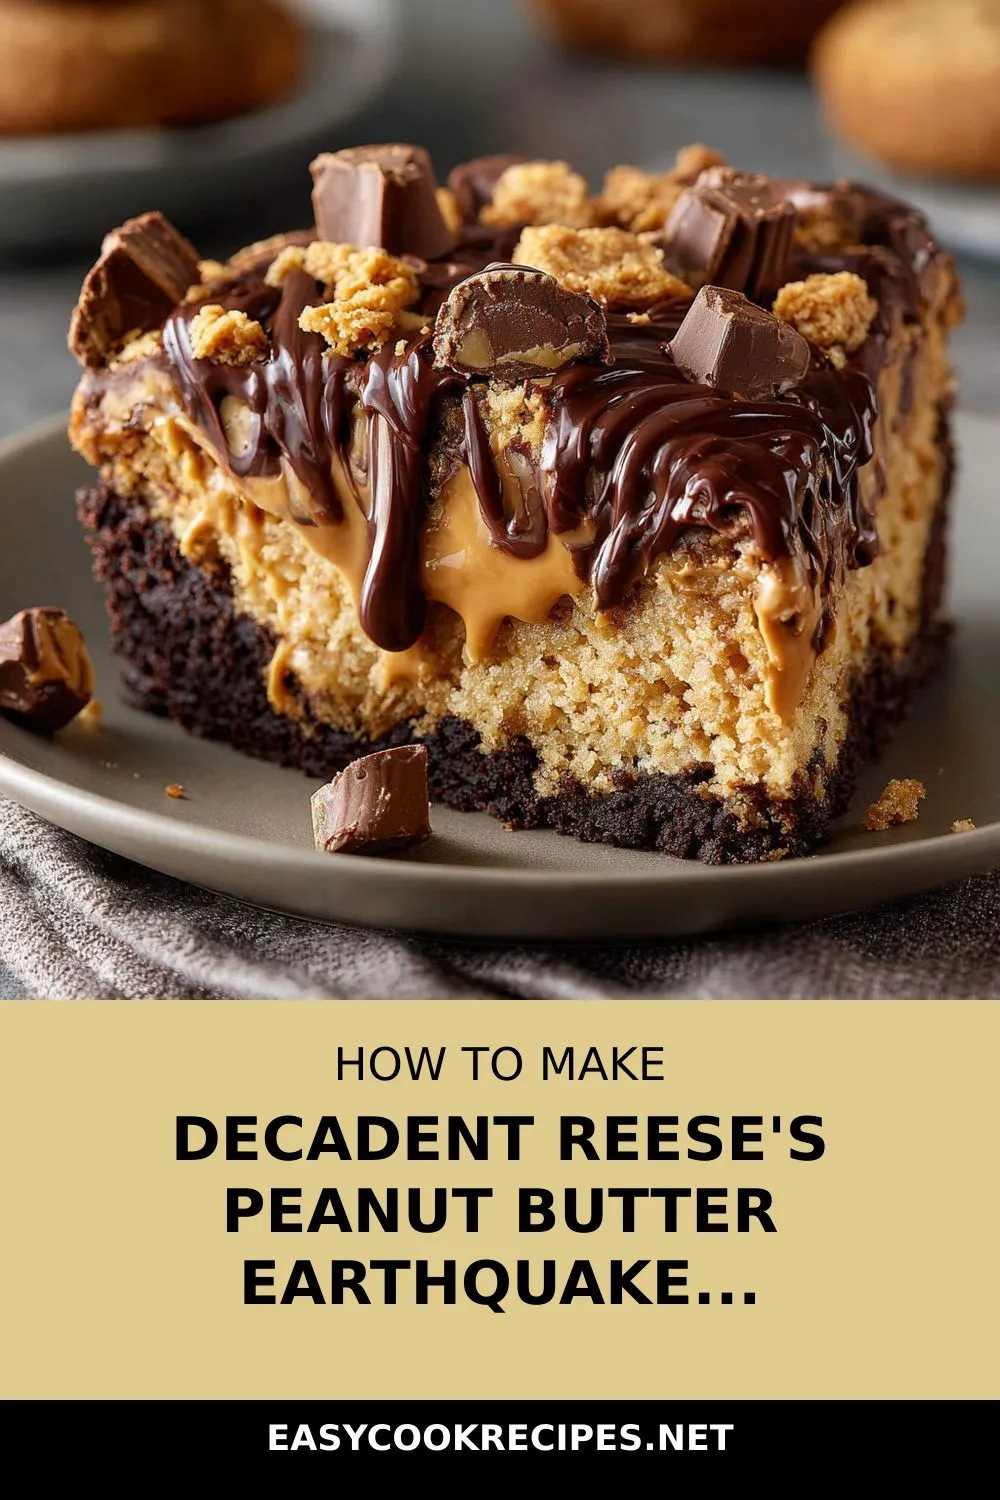
Indulge in the decadent delight that is Reese’s Peanut Butter Earthquake Cake – a true masterpiece of chocolatey goodness with irresistible peanut butter swirls and pockets of chopped Reese’s cups. This crowd-pleasing dessert is a showstopper that never fails to impress, delivering pure joy in every fudgy bite.
The first time I made this Reese’s Peanut Butter Earthquake Cake, it vanished within minutes at an office party, leaving a trail of satisfied smiles. Now, I always keep a stash of mini Reese’s cups in my pantry for those emergency cravings for this delightful cake. With its mesmerizing swirls of chocolate and peanut butter, this cake is a nostalgic treat that brings back memories of baking with loved ones.
Whether you serve it warm with a dollop of vanilla ice cream or enjoy it chilled, this cake is a guaranteed hit at any gathering. The gooey texture and rich flavors of this Southern-inspired dessert are sure to make it a favorite among both kids and adults alike. So, gather your ingredients and get ready to create a dessert sensation that will have everyone asking for seconds!
Quick Benefits
- Indulgent combination of chocolate and peanut butter
- Gooey pockets of melted Reese’s Peanut Butter Cups throughout
- Crowd-pleasing dessert perfect for parties and potlucks
- Easy to customize with different cake batters and mix-ins
Why You’ll Love This Decadent Reese’s Peanut Butter Earthquake Cake Recipe
- Decadent Flavor Combination: Indulge in the rich combination of fudgy chocolate cake, creamy peanut butter, and gooey Reese’s Peanut Butter Cups for a truly decadent treat.
- Crowd-Pleasing: Perfect for parties or bake sales, this cake is a guaranteed crowd pleaser that will have everyone coming back for seconds.
- Easy to Make: With simple ingredients and easy-to-follow instructions, this recipe comes together quickly and effortlessly.
- Nostalgic and Fun: Reminiscent of childhood baking memories, this cake is a fun and nostalgic treat that both kids and adults will enjoy making and eating.
- Versatile: Customize the cake with your favorite variations, such as different types of peanut butter, alternative candies, or seasonal twists, making it adaptable to different tastes and occasions.
- Southern Tradition: Embrace the Southern tradition of Earthquake cakes with this delightful twist, combining classic flavors with a playful and modern touch.
- Freezer-Friendly: Make a batch ahead of time and freeze slices for up to two months, allowing you to enjoy this delicious treat whenever a craving strikes.
- Unforgettable Presentation: The cracked tops and gooey centers of this cake create a visually stunning and irresistible dessert that will leave a lasting impression on your guests.
Ingredients for Decadent Reese’s Peanut Butter Earthquake Cake
Cake Base
- Water, as required for cake mix preparation
- Vegetable oil, as required for cake mix preparation
- Eggs, as required for cake mix preparation
- 1 box chocolate cake mix
Cream Cheese Peanut Butter Filling
- 1/2 cup (135 g) creamy peanut butter
- 1 teaspoon vanilla extract
- 2 to 4 cups (240 to 480 g) powdered sugar
- 8 ounces (226 g) cream cheese, softened
- 1/2 cup (113 g) unsalted butter, melted
Toppings
- 1/2 to 1 cup (120 to 240 g) miniature Reese’s Peanut Butter Cups, chopped
- 1/2 cup (90 g) semi-sweet chocolate chips
Pro Tips for Decadent Reese’s Peanut Butter Earthquake Cake
For the best results when making this Reese’s Peanut Butter Earthquake Cake, consider using your favorite homemade chocolate cake batter instead of a boxed mix to customize the flavor to your liking. When swirling the peanut butter mixture into the cake batter, be sure to gently swirl with a knife without fully mixing them together to achieve the signature ribbons of peanut butter throughout the cake. Using a 9×13-inch baking dish will help ensure even baking and the right thickness for this gooey dessert.
To enhance the texture and flavor of this cake, opt for creamy peanut butter for smooth swirls, or experiment with crunchy peanut butter for a delightful crunch in every bite. Serving the cake slightly warm and topping it with vanilla ice cream can elevate the richness of each slice, making it even more irresistible. Whether you’re making this cake for a bake sale or a family gathering, be prepared for it to be a crowd favorite that vanishes quickly!
How to Make Decadent Reese’s Peanut Butter Earthquake Cake
Step 1: Oven Preparation
Preheat the oven to 350 °F (175 °C) and grease a 9×13-inch baking dish.
Step 2: Prepare Cake Batter
Follow the package instructions to mix the chocolate cake mix with eggs, oil, and water until smooth. Spread the batter evenly in the baking dish.
Step 3: Mix Cream Cheese Peanut Butter Layer
In a clean bowl, combine melted butter, softened cream cheese, peanut butter, and vanilla extract until smooth. Gradually mix in powdered sugar until a creamy, fluffy mixture forms.
Step 4: Layer and Swirl Mixtures
Drop spoonfuls of the cream cheese and peanut butter filling onto the chocolate cake batter. Swirl gently with a knife or spatula to create a marbled effect without fully mixing the layers.
Step 5: Add Toppings
Distribute the semi-sweet chocolate chips and chopped Reese’s Peanut Butter Cups evenly on top.
Step 6: Bake
Bake in the oven for 45 to 50 minutes until a toothpick inserted near the center comes out with a few moist crumbs.
Step 7: Cool and Serve
Let it cool for a bit before slicing and serving. For extra flavor, try serving warm with a scoop of vanilla ice cream.
📌 Pin for later!
Storage Tips
Once you have made the Reese’s Peanut Butter Earthquake Cake, it is important to store it properly to maintain its delicious texture and flavors. If you plan to consume the cake within two days, you can keep it covered at room temperature for the gooeyest texture. However, if you need to store it for longer, tightly wrap the cake and refrigerate it for four to five days. Before enjoying the refrigerated cake, remember to bring it to room temperature to allow the flavors to fully develop. While the swirls may firm up in the fridge, a quick zap in the microwave for a few seconds will restore the cake’s softness perfectly.
For long-term storage or if you have leftovers that you want to freeze, you can individually wrap slices of the fully cooled cake in plastic and then foil. These wrapped slices can be stored in the freezer for up to two months. When you are ready to enjoy the frozen cake, simply thaw it at room temperature or gently warm it in the microwave to achieve that ooey-gooey texture that makes this dessert so irresistible. Whether serving the cake warm or slightly chilled, the wild swirls and gooey centers of the Reese’s Peanut Butter Earthquake Cake will make it a hit at any gathering.
Ingredient Substitutions
For this Reese’s Peanut Butter Earthquake Cake, you can easily customize the cake mix by using your favorite homemade chocolate cake batter instead of the boxed mix. This substitution allows you to control the ingredients and tailor the flavor to your liking.
When making the peanut butter layer, feel free to experiment with different types of peanut butter. While creamy peanut butter is recommended for smooth swirls, using natural or crunchy peanut butter can add a nuttier texture to the cake. This simple substitution can bring a new dimension of flavor to the dessert.
If you have dietary restrictions or preferences, consider using dairy-free cream cheese and plant-based butter in place of the traditional dairy products. This swap allows you to make the cake lactose-free while still maintaining the creamy and rich texture of the peanut butter layer. By making these ingredient substitutions, you can customize the Reese’s Peanut Butter Earthquake Cake to suit your dietary needs and taste preferences.
Serving Suggestions
For a fun and indulgent twist, serve slices of the Reese’s Peanut Butter Earthquake Cake warm with a scoop of vanilla ice cream on top. The warm cake paired with the cold ice cream creates a delightful contrast in temperature and texture, making each bite even more heavenly. Don’t forget to sprinkle some roasted peanuts on top for an extra crunch that complements the gooey peanut butter ribbons and chocolate swirls perfectly.
To make this cake even more decadent, drizzle each slice with melted peanut butter before serving. The extra layer of peanut butter adds a rich and nutty flavor that enhances the overall taste experience. Whether you’re serving this cake at a party or enjoying a slice at home, these creative serving suggestions will take your Reese’s Peanut Butter Earthquake Cake to the next level of deliciousness.
FAQs for Decadent Reese’s Peanut Butter Earthquake Cake
Can I use a different type of cake mix for this recipe?
Yes, you can substitute your favorite chocolate cake batter for the boxed mix to suit your preference.
How do I incorporate the peanut butter layer into the cake batter?
Spoon the peanut butter mixture over the cake batter and gently swirl with a knife—do not mix in fully.
What size of baking dish should I use for this cake?
A 9×13-inch baking dish works best for even baking and proper thickness.
Can I use crunchy peanut butter instead of creamy peanut butter for this recipe?
Yes, you can use crunchy peanut butter to add texture to the cake, but creamy peanut butter is recommended for smooth swirls.
Conclusion
Indulging in a slice of Reese’s Peanut Butter Earthquake Cake is like experiencing a flavor explosion that will leave you craving more. Whether you’re baking it for a special occasion or just to treat yourself, this cake is sure to bring joy with its decadent blend of chocolate, peanut butter, and Reese’s cups. The gooey texture and rich flavors make it a favorite among both kids and adults alike.
Don’t be afraid to get creative with this recipe – feel free to customize it with your favorite additions or seasonal twists. From adding fall spices to swapping out the peanut butter cups for a different candy, the possibilities are endless. And if you ever find yourself with leftovers, remember that you can freeze slices for a sweet treat at a later time.
So whip up a batch of this irresistible Reese’s Peanut Butter Earthquake Cake and watch as it disappears before your eyes. This dessert is a true crowd-pleaser that will have everyone coming back for seconds – and maybe even thirds! Enjoy the process of baking and savor every bite of this delightful treat. Cheers to creating unforgettable moments with good food and good company!
📌 Pin for later!
Decadent Reese’s Peanut Butter Earthquake Cake
Indulge in the ultimate Reese’s Peanut Butter Earthquake Cake – a fudgy chocolate masterpiece with gooey peanut butter swirls and chunks of Reese’s cups.
Prep Time20 min
Cook Time50 min
Total Time70 min
CuisineAmerican
Skill LevelEasy
Servings12 Servings (One 9×13-inch slab)
Ingredients
Cake Base
- Water, as required for cake mix preparation
- Vegetable oil, as required for cake mix preparation
- Eggs, as required for cake mix preparation
- 1 box chocolate cake mix
Cream Cheese Peanut Butter Filling
- 1/2 cup (135 g) creamy peanut butter
- 1 teaspoon vanilla extract
- 2 to 4 cups (240 to 480 g) powdered sugar
- 8 ounces (226 g) cream cheese, softened
- 1/2 cup (113 g) unsalted butter, melted
Toppings
- 1/2 to 1 cup (120 to 240 g) miniature Reese’s Peanut Butter Cups, chopped
- 1/2 cup (90 g) semi-sweet chocolate chips
Instructions
-
Oven Preparation: Preheat the oven to 350 °F (175 °C) and grease a 9×13-inch baking dish.
-
Prepare Cake Batter: Follow the package instructions to mix the chocolate cake mix with eggs, oil, and water until smooth. Spread the batter evenly in the baking dish.
-
Mix Cream Cheese Peanut Butter Layer: In a clean bowl, combine melted butter, softened cream cheese, peanut butter, and vanilla extract until smooth. Gradually mix in powdered sugar until a creamy, fluffy mixture forms.
-
Layer and Swirl Mixtures: Drop spoonfuls of the cream cheese and peanut butter filling onto the chocolate cake batter. Swirl gently with a knife or spatula to create a marbled effect without fully mixing the layers.
-
Add Toppings: Distribute the semi-sweet chocolate chips and chopped Reese’s Peanut Butter Cups evenly on top.
-
Bake: Bake in the oven for 45 to 50 minutes until a toothpick inserted near the center comes out with a few moist crumbs.
-
Cool and Serve: Let it cool for a bit before slicing and serving. For extra flavor, try serving warm with a scoop of vanilla ice cream.