Follow Me On Social Media!

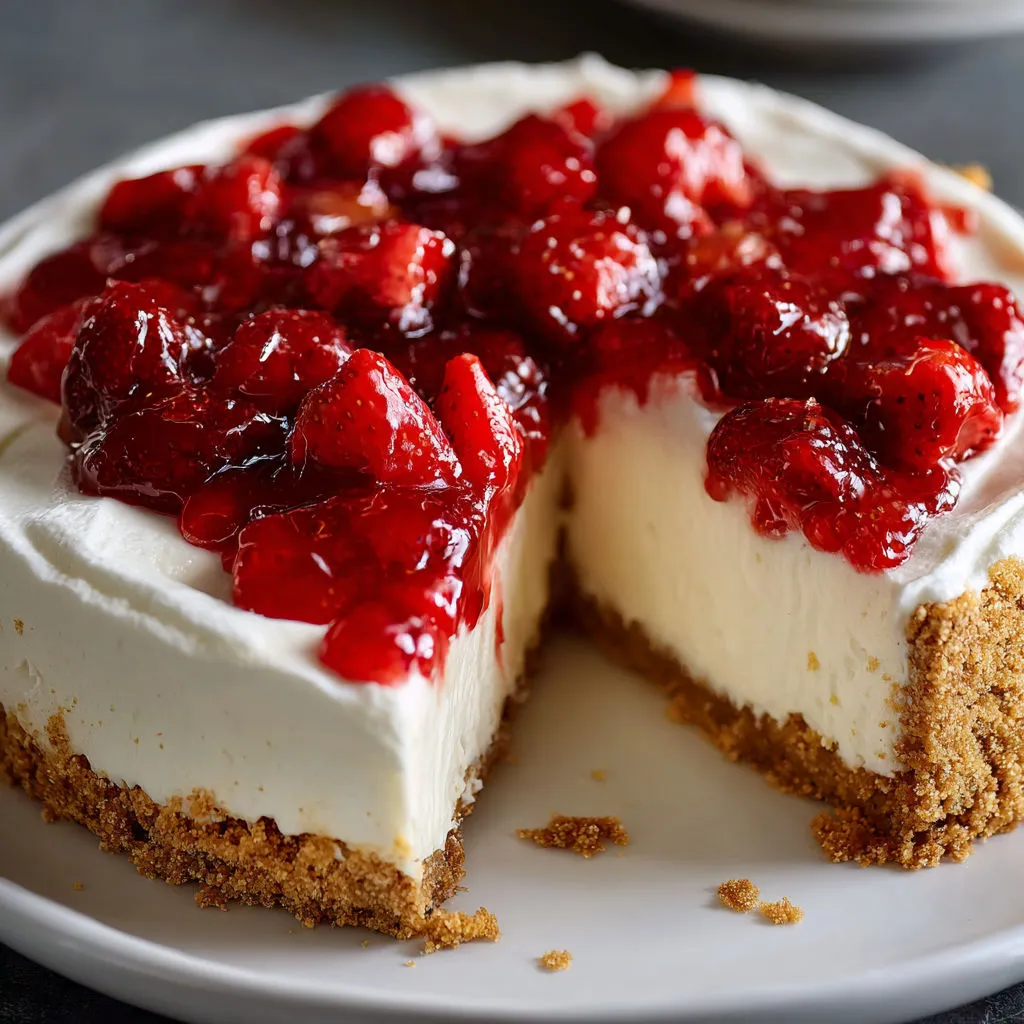
Indulge in the heavenly delight of a No-Bake Cheesecake Classic Style, a timeless dessert that blends the richness of cream cheese with the sweetness of powdered sugar and a hint of vanilla. This recipe is a game-changer when you’re craving a decadent treat but want to skip the hassle of baking. With its velvety smooth texture and dreamy flavor, this no-bake cheesecake is bound to impress both kids and adults alike.
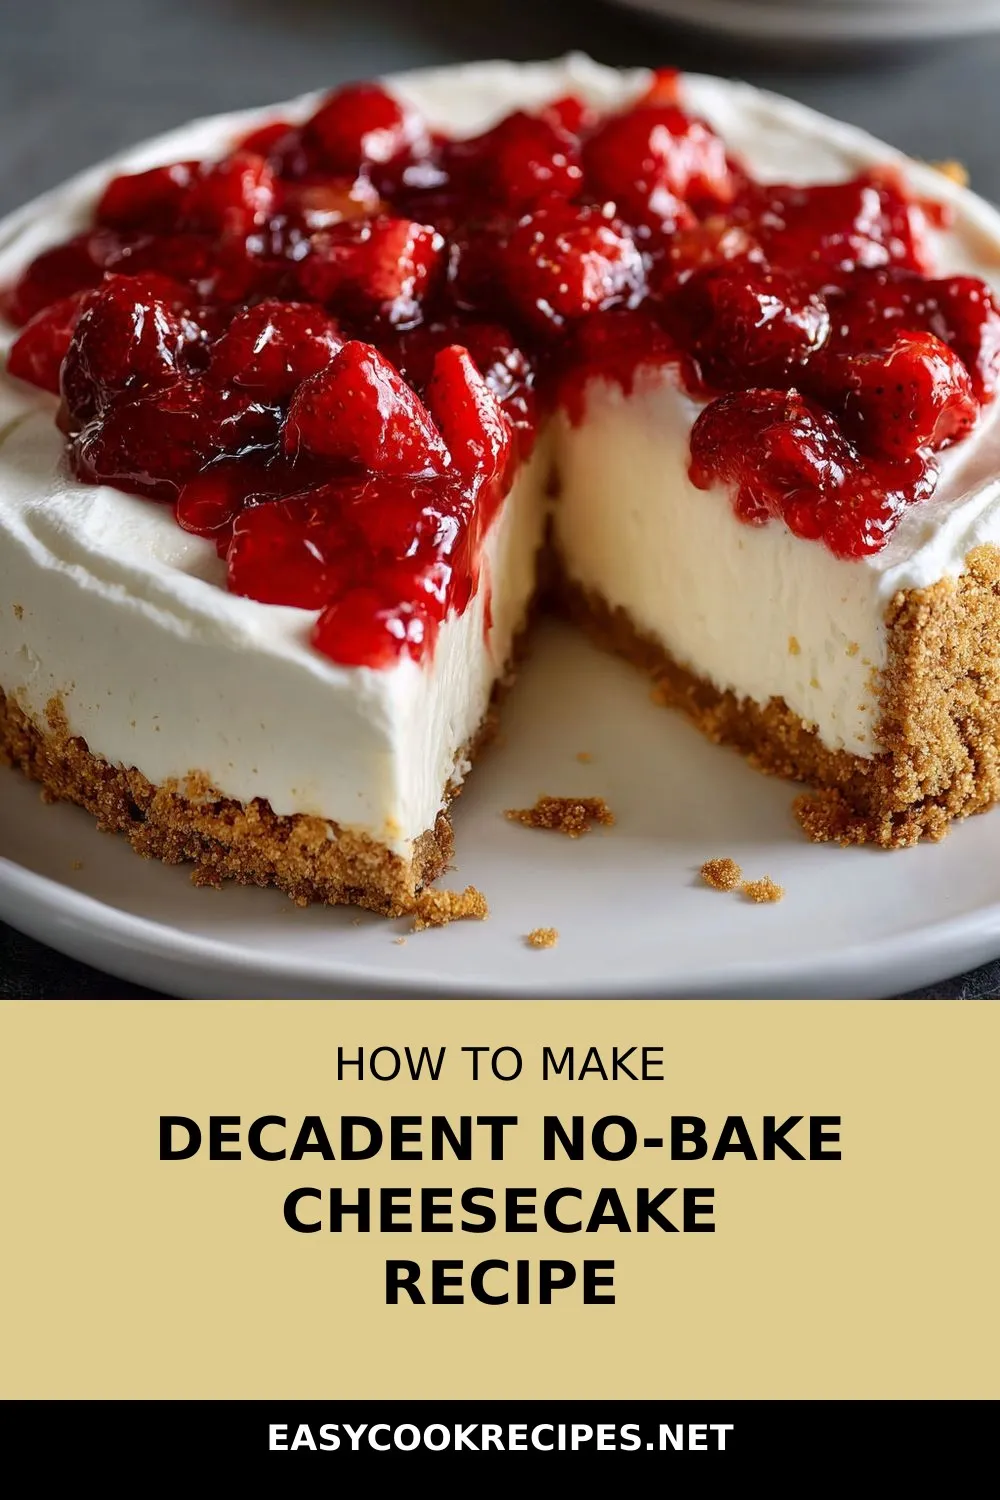
As a food blogger and avid baker, I always turn to this classic style cheesecake when I need a show-stopping dessert without the fuss. Whether it’s a sunny-day celebration or a cozy weekend indulgence, this recipe never fails to hit the spot. Picture a luscious cream cheese filling nestled on a buttery graham cracker crust – pure bliss in every bite. So, say goodbye to water baths and ovens, and say hello to a delightful treat that’s perfect for any occasion.
Quick Benefits
- Convenience: No need for baking or water baths, making it a quick and easy dessert to prepare.
- Versatile: Can easily be customized with different flavors such as lemon zest, almond extract, or toppings like fresh berries, chocolate, or caramel drizzle.
- Make-Ahead: Perfect for preparing in advance – store leftovers in the refrigerator for up to five days or freeze for up to one month without compromising on texture.
Why You’ll Love This Decadent No-Bake Cheesecake Recipe Recipe
- Effortless and Quick: No need to fuss with baking or water baths, making it a stress-free dessert option.
- Rich and Creamy: Each bite is velvety and indulgent, reminiscent of a restaurant-quality cheesecake.
- Make-Ahead Wonder: Perfect for planning ahead, whether for a special occasion or a simple weeknight treat.
- Family Favorite: A hit with both kids and adults, making it a versatile dessert for any gathering.
- Customizable: Easily adapt the recipe by adding different flavors like lemon zest or almond extract for a unique twist.
- Versatile Toppings: From fresh berries to lemon curd, the options for toppings are endless, allowing you to personalize the cheesecake.
- Freezer-Friendly: Can be stored in the freezer for up to a month, making it ideal for meal prep or saving leftovers.
- All-Season Delight: Whether topped with fresh strawberries in spring or caramelized nuts in winter, this cheesecake is perfect year-round.
- Sharing Made Easy: Double the ingredients to make a larger batch, cut into bars, and individually wrap for convenient snacks or lunchbox treats.
- Creamy Joy: A simple yet delightful dessert that brings happiness to the table with every slice.
Ingredients for Decadent No-Bake Cheesecake Recipe
Crust
- 1/4 cup granulated sugar
- 1 1/2 cups graham cracker crumbs
- 1/2 cup unsalted butter, melted
Filling
- 1 cup powdered sugar
- 1 cup heavy whipping cream
- 1 teaspoon vanilla extract
- 16 ounces cream cheese, softened
Pro Tips for Decadent No-Bake Cheesecake Recipe
Pro Tips:
For a smooth and creamy texture, ensure your cream cheese is fully softened before mixing. This will prevent lumps in your cheesecake filling.
To customize your no-bake cheesecake, experiment with different flavor additions like lemon zest or almond extract. Just remember to use a light hand to maintain a balanced flavor profile.
For easy serving and storage, consider layering the filling in small jars for parfait-style individual portions. This is great for picnics or parties and makes for a visually appealing presentation.
How to Make Decadent No-Bake Cheesecake Recipe
Step 1: Prepare the Crust
In a medium bowl, mix graham cracker crumbs, granulated sugar, and melted unsalted butter until the texture resembles wet sand.
Step 2: Form the Base
Press the graham cracker mixture firmly into the bottom of a springform pan to form an even layer. Refrigerate while making the filling.
Step 3: Blend Cream Cheese Mixture
In a large bowl, cream softened cream cheese until smooth. Mix in powdered sugar and vanilla extract until well combined.
Step 4: Whip the Cream
Using a hand mixer or stand mixer, whip heavy whipping cream in a separate bowl until stiff peaks form.
Step 5: Incorporate Whipped Cream
Using a spatula, gently fold whipped cream into the cream cheese mixture while preserving volume.
Step 6: Assemble and Chill
Spread the filling over the crust evenly. Chill in the refrigerator for at least 4 hours until firm.
Step 7: Serve
Slice the dessert and serve it cold, topping with fresh fruit or chocolate sauce if desired.
📌 Pin for later!
Storage Tips
After preparing the no-bake cheesecake, store any leftovers covered in the refrigerator for up to five days. To freeze slices for later enjoyment, tightly wrap the cheesecake in plastic and place it in a freezer-safe container. It can be frozen for up to one month. Thaw the frozen cheesecake overnight in the refrigerator before serving to maintain its surprisingly creamy texture even after freezing.
For a gluten-free option, swap in gluten-free graham crackers or vanilla wafers for the crust. If you only have salted butter, omit the additional sugar in the crust. For a twist on the classic recipe, consider swirling in a bit of lemon zest or almond extract into the filling for a subtle flavor enhancement. Experiment with different toppings like fresh berries, lemon curd, shaved chocolate, or caramel drizzle to tailor the cheesecake to your preferences or the occasion.
Ingredient Substitutions
For a gluten-free option, swap out the graham cracker crumbs with gluten-free graham crackers or vanilla wafers for the crust. This simple substitution allows those with gluten sensitivities to enjoy this delightful no-bake cheesecake.
If you only have salted butter on hand, you can omit the granulated sugar in the crust. The salted butter will still provide the necessary binding and flavor for the crust, ensuring that it holds together well and complements the creamy cheesecake filling.
Feel free to experiment with different flavors by adding a touch of lemon zest or almond extract to the filling. Just remember to use a light hand to maintain a balanced flavor profile. These small additions can elevate the taste of the cheesecake and offer a unique twist to the classic recipe.
Serving Suggestions
For a creative serving suggestion, try layering individual portions of the no-bake cheesecake in small jars parfait-style. This presentation is perfect for picnics, parties, or even as a grab-and-go dessert option. Simply alternate layers of the creamy filling with crumbled graham cracker crust and top with fresh berries or a spoonful of lemon curd for a delightful treat that is both visually appealing and convenient to enjoy on the move.
Another fun idea is to prepare the cheesecake filling as directed, but instead of a traditional cake, freeze it in a large glass baking dish until solid. Then, cut the frozen cheesecake into bars and wrap them individually for easy lunchbox desserts or quick summer snacks. These frozen cheesecake bars are a refreshing twist on the classic dessert and are sure to be a hit with both kids and adults alike.
FAQs for Decadent No-Bake Cheesecake Recipe
Can I use light cream cheese instead of full-fat cream cheese?
Yes, you can use light cream cheese, but the texture may be less creamy and the flavor a bit tangier compared to using full-fat cream cheese.
How long should I chill the no-bake cheesecake before serving?
Chill the cheesecake for at least 4 hours to set fully. For even firmer and neater slices, it’s recommended to chill it overnight.
Can I prepare the crust ahead of time?
Absolutely! You can prepare and refrigerate the crust a day ahead for convenience and to ensure a firmer base for the cheesecake.
Can I use canned whipped cream instead of freshly whipped heavy cream?
No, canned whipped cream won’t hold the cheesecake’s structure well. It’s best to use freshly whipped heavy cream for stability and to maintain the integrity of the cheesecake.
Conclusion
As you savor each rich and creamy bite of this No-Bake Cheesecake Classic Style, I hope it brings a smile to your face and a warmth to your heart. This recipe holds a special place in my kitchen, and I am thrilled to share it with you. Whether you’re making it for a special occasion or a simple weeknight treat, this cheesecake is sure to delight your taste buds and those of your loved ones.
Don’t hesitate to experiment with different toppings and flavors to make this classic dessert your own. Whether you prefer a traditional garnish of fresh berries or want to get creative with a drizzle of caramel sauce, the possibilities are endless. Thank you for joining me on this culinary journey, and may your kitchen always be filled with the joy of baking, especially when whipping up this delightful No-Bake Cheesecake Classic Style.
📌 Pin for later!
Decadent No-Bake Cheesecake Recipe
Indulge in a rich, creamy No-Bake Cheesecake Classic Style that’s a breeze to make and perfect for any occasion.
Prep Time20 min
Cook Time~ undefined
Total Time20 min
CuisineAmerican
Skill LevelEasy
Servings12 Servings (1 standard cheesecake)
Ingredients
Crust
- 1/4 cup granulated sugar
- 1 1/2 cups graham cracker crumbs
- 1/2 cup unsalted butter, melted
Filling
- 1 cup powdered sugar
- 1 cup heavy whipping cream
- 1 teaspoon vanilla extract
- 16 ounces cream cheese, softened
Instructions
-
Prepare the Crust: In a medium bowl, mix graham cracker crumbs, granulated sugar, and melted unsalted butter until the texture resembles wet sand.
-
Form the Base: Press the graham cracker mixture firmly into the bottom of a springform pan to form an even layer. Refrigerate while making the filling.
-
Blend Cream Cheese Mixture: In a large bowl, cream softened cream cheese until smooth. Mix in powdered sugar and vanilla extract until well combined.
-
Whip the Cream: Using a hand mixer or stand mixer, whip heavy whipping cream in a separate bowl until stiff peaks form.
-
Incorporate Whipped Cream: Using a spatula, gently fold whipped cream into the cream cheese mixture while preserving volume.
-
Assemble and Chill: Spread the filling over the crust evenly. Chill in the refrigerator for at least 4 hours until firm.
-
Serve: Slice the dessert and serve it cold, topping with fresh fruit or chocolate sauce if desired.