Follow Me On Social Media!

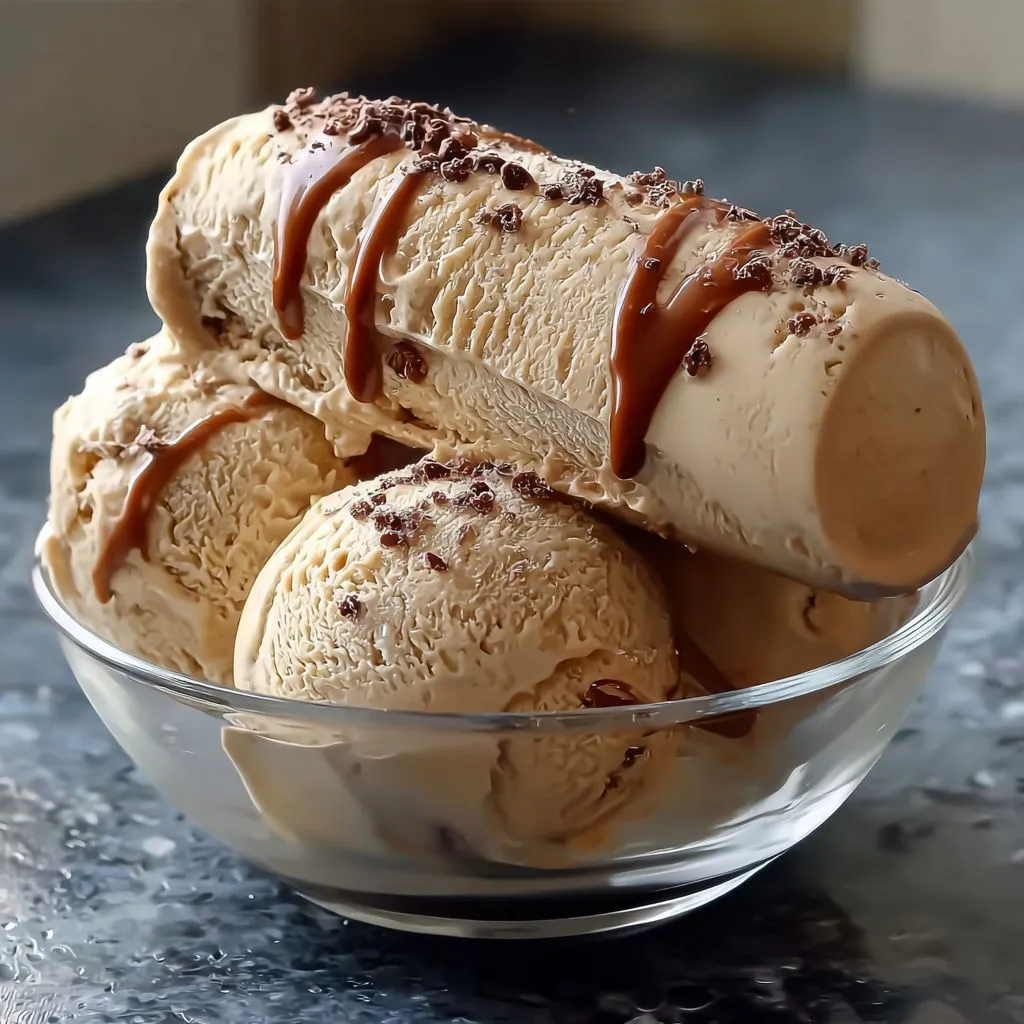
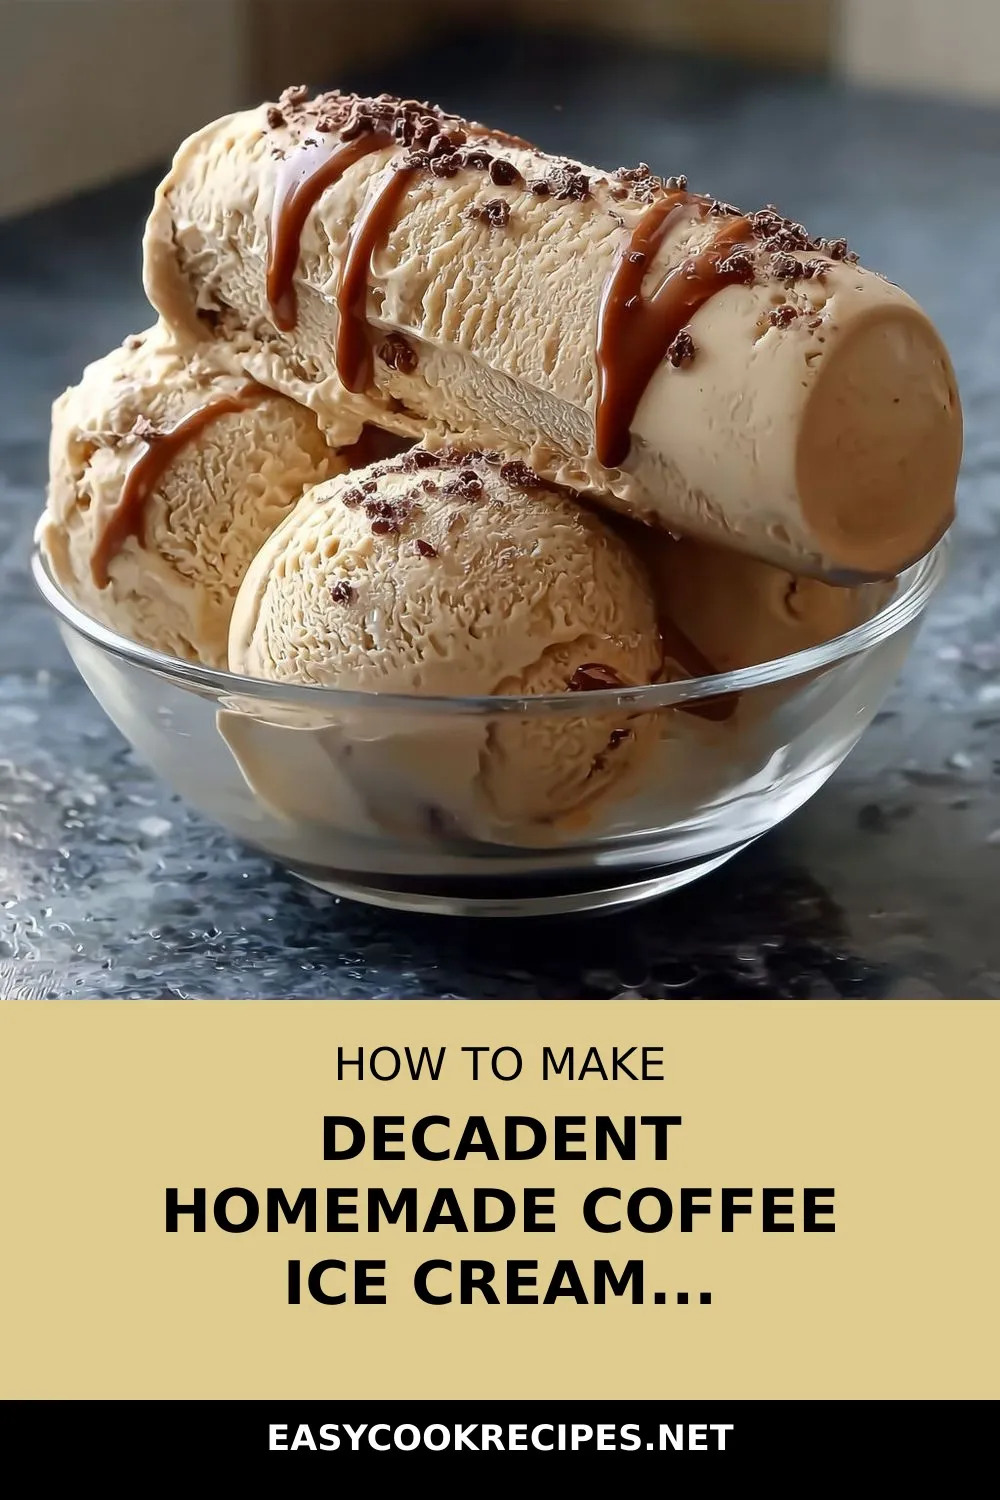
Indulge in the irresistible allure of Homemade Coffee Ice Cream, where the rich aroma of freshly brewed coffee meets the creamy decadence of a classic frozen treat. Imagine the satisfaction of each spoonful, cold and velvety, with just the right balance of sweetness and bold coffee flavor. This recipe is not just a dessert; it’s a cozy comfort on a summer day or a pick-me-up from your favorite café.
Crafting this Homemade Coffee Ice Cream is a labor of love, from the moment it starts churning to the delightful first scoop. Picture the magic as chocolate chunks shatter against the creamy base, creating a symphony of flavors. Whether enjoyed in an espresso cup for a sophisticated dessert or sandwiched between two chocolate cookies for an indulgent treat, this ice cream is a luxurious delight that never fails to impress.
Elevate your homemade ice cream game by adding your favorite mix-ins like chocolate chips, caramel swirls, or chopped nuts before freezing. With each batch, you’ll capture the essence of European coffee and ice cream traditions, bringing a touch of international flair to your kitchen. So, embrace the art of making Homemade Coffee Ice Cream, a dessert that promises to delight your taste buds and transport you to a world of sweet extravagance.
Quick Benefits
- Creamy and Rich Flavor: The homemade coffee ice cream offers a dreamy, creamy texture with a perfect balance of sweetness and bold coffee flavor.
- Customizable Additions: Easily fold in chocolate chips, caramel swirls, or nuts to enhance the richness of the ice cream.
- Versatile Recipe: Can be adapted for dairy-free versions using coconut cream and oat milk, and personalized with different sugar options for varied flavor profiles.
- Long-Lasting Freshness: Store in an airtight container with parchment paper to maintain fresh flavor and scoopable creaminess for up to a month.
Why You’ll Love This Decadent Homemade Coffee Ice Cream Recipe Recipe
- The deep aroma and bold coffee flavor of this homemade coffee ice cream make it a special treat on a summer afternoon or a cozy dessert pick-me-up anytime you need it.
- Sneaking extra chocolate chunks into every batch adds a magical shattering texture against the creamy base that everyone will love.
- This ice cream stays fresh and scoopable for up to a month when stored properly, ensuring you always have a delicious treat on hand.
- The recipe offers versatile modifications for dairy-free options and various sugar alternatives, making it adaptable to different dietary preferences.
- Topping the ice cream with salted caramel or flaky sea salt elevates the flavors, turning it into an unforgettable dessert experience.
- The international spirit of coffee and ice cream combinations brings a touch of European celebration to your kitchen with every scoop.
- The recipe allows for creative variations like adding cinnamon or folding in chocolate-covered espresso beans for extra crunch, catering to different flavor preferences.
- Even non-coffee lovers have been won over by this recipe, making it a versatile and crowd-pleasing dessert option.
- Portioning individual scoops for pre-portioned desserts is a convenient option for entertaining or satisfying after-dinner cravings without the need to scoop from a larger container.
- This homemade coffee ice cream offers true dessert luxury, whether enjoyed on its own or used as a base for creating endless sweet creations.
Ingredients for Decadent Homemade Coffee Ice Cream Recipe
Ice Cream Base
- 2 cups heavy cream
- 1 teaspoon vanilla extract
- 2 tablespoons instant coffee or espresso powder
- 4 large egg yolks
- 1/4 teaspoon salt
- 3/4 cup granulated sugar
- 1 cup whole milk
Optional Add-Ins
- 1/4 cup chopped nuts
- 1/2 cup chocolate chips
- 1/2 cup crushed cookies
- 1/4 cup caramel sauce
Pro Tips for Decadent Homemade Coffee Ice Cream Recipe
For the creamiest homemade coffee ice cream, make sure to chill the custard base thoroughly before churning. This will help achieve a smooth and rich texture. Additionally, using full-fat dairy like heavy cream and whole milk will enhance the creaminess of the final product.
To intensify the coffee flavor, opt for instant coffee or espresso powder as they dissolve quickly and provide a strong, bold taste. If you prefer a lighter coffee flavor, you can use gentle instant coffee granules. To add extra richness, consider folding in chocolate chips, caramel sauce, or chopped nuts before freezing the ice cream.
After churning the ice cream, freeze it for at least 2 hours to allow it to set and achieve a scoopable, firm texture. Remember to stir the ice cream every 30 minutes while freezing for a creamy consistency. By following these pro tips, you’ll create a decadent homemade coffee ice cream that rivals any store-bought treat.
How to Make Decadent Homemade Coffee Ice Cream Recipe
Step 1: Prepare Cream Mixture
In a medium saucepan over medium heat, combine heavy cream, whole milk, granulated sugar, and instant coffee. Whisk until sugar is dissolved and mixture is hot and steaming without boiling.
Step 2: Temper Egg Yolks
In a separate bowl, whisk egg yolks until smooth. Gradually add 1/2 cup of the hot cream mixture while whisking to prevent curdling. Return yolks to saucepan, stirring constantly.
Step 3: Cook Custard
Lower the heat and cook the mixture on low heat while stirring frequently until it thickens to coat the back of a spoon, which takes about 5 to 7 minutes. Remove from heat and mix in vanilla extract and salt.
Step 4: Strain and Chill
Strain the custard through a fine-mesh sieve into a clean bowl. Cover and refrigerate for at least 4 hours or overnight until fully chilled.
Step 5: Churn Ice Cream
Transfer the chilled mixture into an ice cream maker and churn following the manufacturer’s guidelines for 20 to 25 minutes until it reaches a soft-serve consistency.
Step 6: Freeze and Serve
Transfer the churned ice cream to a freezer-safe container. Freeze for a minimum of 2 hours until firm. Serve scooped as desired. Optional: Swirl in chocolate chips, caramel sauce, crushed cookies, or nuts before freezing for added flavor.
📌 Pin for later!
Storage Tips
Once you have prepared and churned your homemade coffee ice cream, it is essential to store it properly to maintain its fresh flavor and creamy texture. Transfer the finished ice cream into an airtight container and place it in the coldest part of your freezer. To prevent the formation of ice crystals, press a layer of parchment or wax paper directly onto the surface of the ice cream before sealing the container. This method helps preserve the ice cream’s scoopable creaminess for up to a month without any issues.
For easy portioning and serving, you can also freeze individual scoops on a parchment-lined baking sheet before transferring them to a zipper bag. This technique allows you to have pre-portioned servings ready to enjoy whenever cravings strike or when entertaining guests. Remember to let the ice cream freeze for at least 2 hours after churning to achieve the desired firm texture for scooping. Whether enjoyed on its own or as a base for creative sweet creations, this homemade coffee ice cream promises true dessert luxury in every spoonful.
Ingredient Substitutions
For a dairy-free option, you can substitute coconut cream and oat milk for the heavy cream and whole milk. Coconut sugar or turbinado sugar can be used instead of granulated sugar for a more caramel-like flavor. If the instant espresso flavor is too strong, opt for gentle instant coffee granules for a lighter taste.
Feel free to customize this coffee ice cream by adding your favorite mix-ins like chocolate chips, caramel sauce, crushed cookies, or chopped nuts before freezing. These additions will enhance the flavor and texture of the ice cream. Experiment with different toppings like a drizzle of salted caramel or a sprinkle of flaky sea salt to elevate the dessert experience.
To make individual portions or pre-portioned desserts, scoop the ice cream onto a parchment-lined baking sheet, flash freeze, and store in a zipper bag. This method is convenient for entertaining or satisfying post-dinner cravings. Additionally, consider adding a dash of cinnamon in winter or folding in crushed chocolate-covered espresso beans for a unique twist on this homemade coffee ice cream recipe.
Serving Suggestions
For a decadent serving suggestion, layer scoops of this homemade coffee ice cream between two freshly baked chocolate chip cookies to create indulgent ice cream sandwiches. Roll the edges in crushed nuts for added crunch and flavor, and drizzle with warm caramel sauce before serving for a truly unforgettable dessert experience.
To elevate the presentation of this coffee ice cream, serve it in elegant espresso cups. Top each scoop with a dollop of whipped cream and a sprinkle of chocolate shavings for a sophisticated touch. For an added kick, dust the whipped cream with a hint of cinnamon or a sprinkle of crushed chocolate-covered espresso beans to enhance the rich coffee flavor.
FAQs for Decadent Homemade Coffee Ice Cream Recipe
Can I use regular brewed coffee instead of instant coffee or espresso powder?
Instant coffee or espresso powder works best in this recipe as they dissolve quickly and provide a strong, balanced coffee flavor. Using regular brewed coffee might result in a weaker coffee taste and could affect the texture of the ice cream.
How can I achieve a creamy texture for my homemade coffee ice cream?
Chill the custard base thoroughly, then freeze it while stirring every 30 minutes until it becomes firm. This process helps prevent ice crystals from forming and ensures a creamy texture in your ice cream.
Can I add extra ingredients like chocolate chips, caramel swirls, or nuts to the ice cream?
Absolutely! Feel free to fold in chocolate chips, caramel sauce swirls, chopped nuts, or any other mix-ins before freezing the ice cream. These additions will enhance the flavor and texture, adding extra richness to your homemade coffee ice cream.
How can I ensure that my homemade coffee ice cream turns out creamy and rich?
To achieve the creamiest result, make sure to chill the custard base thoroughly before churning. Additionally, using full-fat dairy products like heavy cream and whole milk will contribute to a richer and creamier ice cream. Avoid over-churning the mixture to prevent it from becoming too icy.
Conclusion
As you savor your last spoonful of this decadent Homemade Coffee Ice Cream, remember the joy of creating something so delicious from scratch. The rich flavors and creamy texture are a testament to your culinary skills and the love you put into each batch. Whether enjoyed on a sunny afternoon or as a comforting treat on a cozy evening, this ice cream is a true delight for the senses.
I hope this recipe for Homemade Coffee Ice Cream becomes a staple in your dessert repertoire, bringing smiles to faces and creating lasting memories with each scoop shared. Experiment with different mix-ins and toppings to make it your own, and don’t forget to share the love by treating your loved ones to a taste of your homemade ice cream masterpiece. Embrace the magic of homemade ice cream and let it bring a touch of sweet indulgence to your everyday moments.
📌 Pin for later!
Decadent Homemade Coffee Ice Cream Recipe
Indulge in creamy Homemade Coffee Ice Cream, rich with espresso flavor, and customize with chocolate chips, caramel swirls, or nuts for a decadent treat.
Prep Time25 min
Cook Time10 min
Total Time35 min
CuisineAmerican
Skill LevelEasy
Servings8 Servings (About 1.5 quarts ice cream)
Ingredients
Ice Cream Base
- 2 cups heavy cream
- 1 teaspoon vanilla extract
- 2 tablespoons instant coffee or espresso powder
- 4 large egg yolks
- 1/4 teaspoon salt
- 3/4 cup granulated sugar
- 1 cup whole milk
Optional Add-Ins
- 1/4 cup chopped nuts
- 1/2 cup chocolate chips
- 1/2 cup crushed cookies
- 1/4 cup caramel sauce
Instructions
-
Prepare Cream Mixture: In a medium saucepan over medium heat, combine heavy cream, whole milk, granulated sugar, and instant coffee. Whisk until sugar is dissolved and mixture is hot and steaming without boiling.
-
Temper Egg Yolks: In a separate bowl, whisk egg yolks until smooth. Gradually add 1/2 cup of the hot cream mixture while whisking to prevent curdling. Return yolks to saucepan, stirring constantly.
-
Cook Custard: Lower the heat and cook the mixture on low heat while stirring frequently until it thickens to coat the back of a spoon, which takes about 5 to 7 minutes. Remove from heat and mix in vanilla extract and salt.
-
Strain and Chill: Strain the custard through a fine-mesh sieve into a clean bowl. Cover and refrigerate for at least 4 hours or overnight until fully chilled.
-
Churn Ice Cream: Transfer the chilled mixture into an ice cream maker and churn following the manufacturer’s guidelines for 20 to 25 minutes until it reaches a soft-serve consistency.
-
Freeze and Serve: Transfer the churned ice cream to a freezer-safe container. Freeze for a minimum of 2 hours until firm. Serve scooped as desired. Optional: Swirl in chocolate chips, caramel sauce, crushed cookies, or nuts before freezing for added flavor.