Follow Me On Social Media!

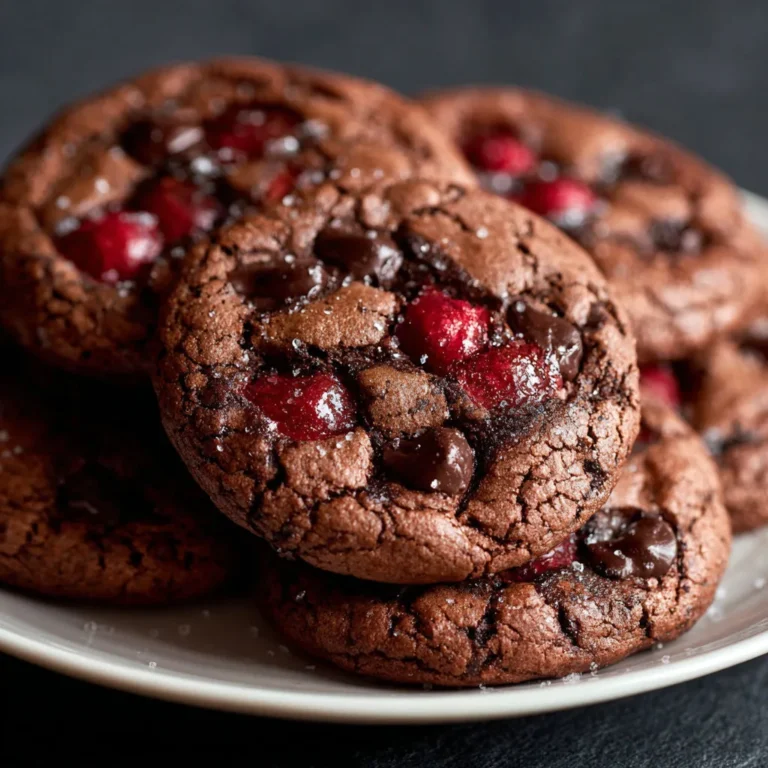
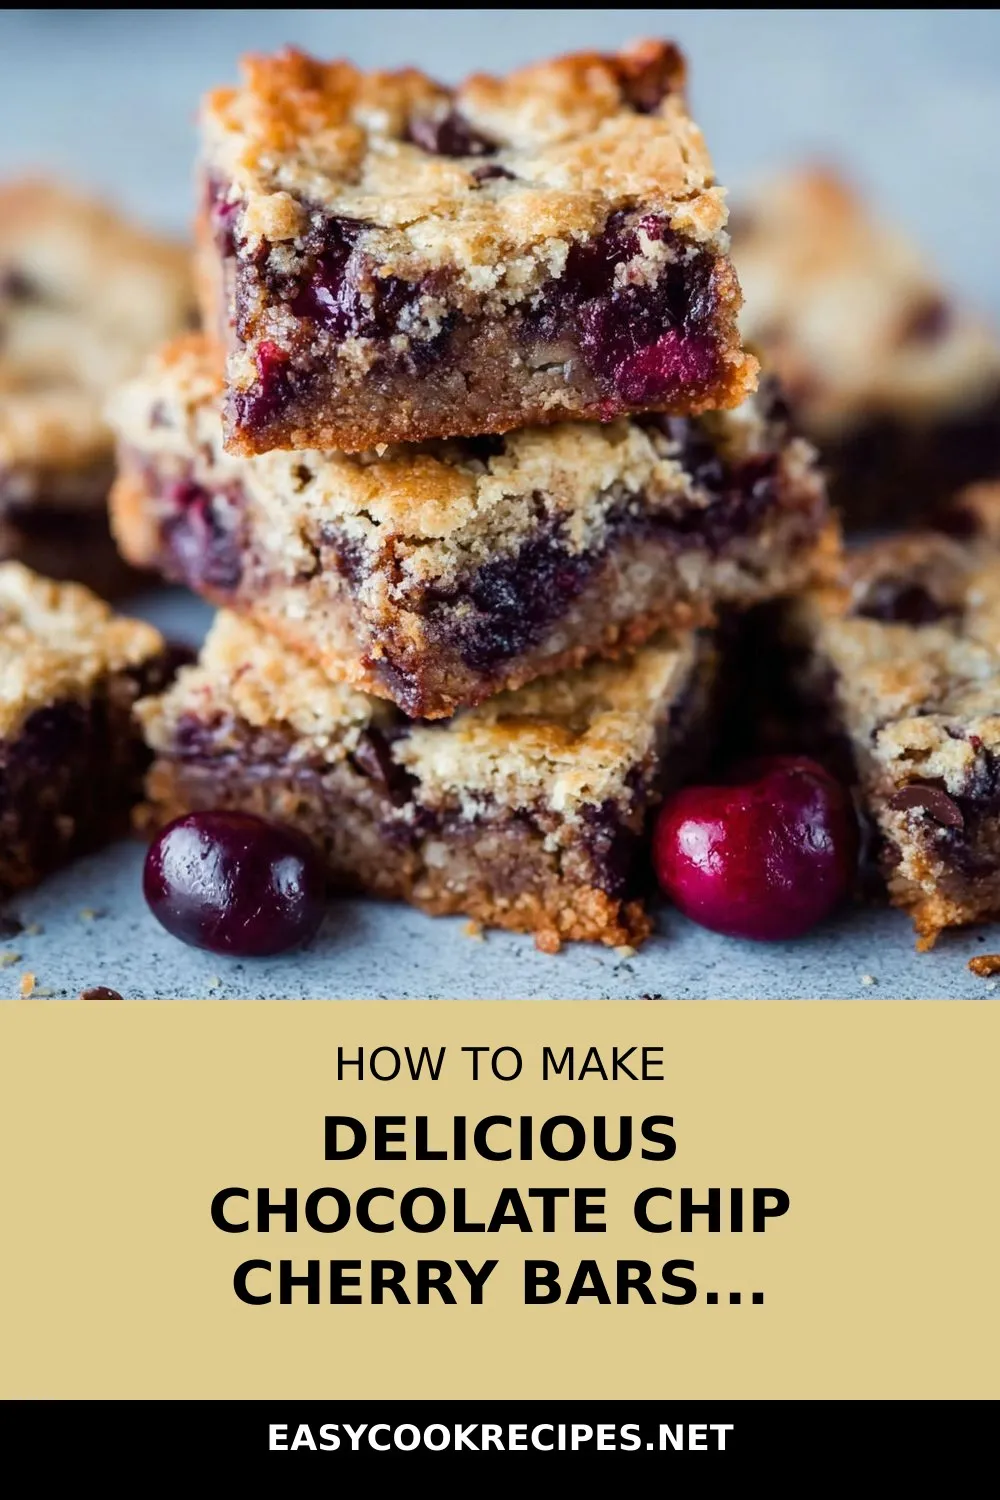
Indulge in the delightful fusion of flavors with these irresistible Chocolate Chip Cherry Bars. Bridging the best of both worlds between a brownie and a cookie, these bars are sure to bring joy to any occasion. Picture a chewy edge and a gooey center, each bite bursting with the perfect combination of real cherries and melty chocolate chips.
Crafted on a snowy Sunday with leftover cherries and chocolate chips, these bars have evolved into a beloved tradition before summer road trips. The sight of ruby red cherries nestled in buttery dough will transport you back to sweet baking memories with loved ones. Whether you’re looking for a delectable dessert, a lunchbox treat, or a party favorite, these Chocolate Chip Cherry Bars are a versatile delight that will leave everyone craving more.
Quick Benefits
- Bridging the gap between brownies and cookies for a unique treat
- Burst of real cherries and gooey chocolate chips add a delightful texture and flavor
- Versatile recipe with options for ingredient substitutions like blueberries, raspberries, or white chocolate chips
- Easy storage options: airtight container at room temperature, fridge, or freezer for longer shelf life
Why You’ll Love This Delicious Chocolate Chip Cherry Bars Recipe Recipe
- Chewy and Gooey Goodness: These bars perfectly bridge the gap between a brownie and a cookie, offering a chewy edge and a gooey center that will delight your taste buds.
- Nostalgic Comfort: The burst of real cherries and chocolate chips will transport you back to baking afternoons with loved ones, creating a sense of nostalgia and comfort with every bite.
- Versatile and Customizable: You can easily swap cherries for blueberries or raspberries, and white chocolate chips for a different flavor profile. Experiment with browned butter or almond extract for a unique twist.
- Perfect for Any Occasion: Whether you’re serving them as a show-stopping dessert with ice cream, packing them for a picnic, or enjoying them as bite-size treats, these bars are versatile and suitable for any occasion.
- Make Ahead Convenience: Bake a batch ahead of time, freeze slices, and reheat as needed for a quick and convenient dessert option on busy days.
- Crowd-Pleaser: These bars are a hit with neighbors, at bake sales, and during snow days, making them a sought-after treat that will have everyone asking for the recipe.
- Easy Storage: Store them in an airtight container at room temperature, in the fridge, or freeze them for longer storage without compromising on taste and texture.
Ingredients for Delicious Chocolate Chip Cherry Bars Recipe
Wet Ingredients
- 2 teaspoons vanilla extract
- 1 cup light brown sugar, packed
- 1 large egg
- 0.5 cup unsalted butter, melted
Dry Ingredients
- 1 cup all-purpose flour
- 0.25 teaspoon salt
Mix-ins
- 0.75 to 1 cup semi-sweet chocolate chips
- 1 cup cherries, fresh or frozen, left whole
Pro Tips for Delicious Chocolate Chip Cherry Bars Recipe
To make these Chocolate Chip Cherry Bars, consider using semi-sweet chocolate chips for a balanced flavor profile. While frozen cherries work well, ensure you fold them into the batter without thawing. If you’re looking to switch things up, try using dark or milk chocolate chips for a different taste experience.
For optimal storage, keep the bars in an airtight container at room temperature for up to a week or in the fridge. They can also be frozen for longer storage, maintaining their quality for up to three months. When reheating from frozen, allow them to come to room temperature or gently warm them to restore the melty chocolate goodness.
For a gluten-free option, substitute the all-purpose flour with a gluten-free blend following the package instructions. Remember to let the bars cool completely before slicing to achieve clean edges. These tips will help you create delicious Chocolate Chip Cherry Bars that will be a hit at any gathering or as an everyday treat.
How to Make Delicious Chocolate Chip Cherry Bars Recipe
Step 1: Prepare Baking Pan
Preheat oven to 350°F. Line an 8 x 8 inch baking pan with aluminum foil and lightly spray with nonstick spray. Set aside.
Step 2: Melt Butter
In a medium microwave-safe bowl, melt unsalted butter for about 60 seconds.
Step 3: Combine Wet Ingredients
Combine packed light brown sugar with melted butter, stirring until blended. Add the egg and vanilla extract, mixing until fully incorporated.
Step 4: Add Dry Ingredients
Gently combine all-purpose flour and salt into the mixture, being careful not to over-mix.
Step 5: Incorporate Mix-ins
Carefully mix in semi-sweet chocolate chips and whole cherries. Pour the batter into the prepared pan and level the top.
Step 6: Bake
Bake for 27 to 32 minutes until edges slightly separate from the pan and the center is firm.
Step 7: Cool and Serve
Let cool in the pan for a minimum of 1 hour before cutting into bars and serving.
📌 Pin for later!
Storage Tips
Once the Chocolate Chip Cherry Bars are baked and cooled thoroughly, store them in an airtight container at room temperature for up to a week. If you need to store them for longer, tightly wrap the bars and freeze them for up to three months. Before serving, allow the bars to come to room temperature or gently reheat them in the microwave to restore the melty chocolate goodness.
For those with dietary preferences, you can easily swap the all-purpose flour for a gluten-free alternative, maintaining a similar texture and taste. Additionally, using semi-sweet chocolate chips is recommended for a well-balanced flavor profile, but feel free to experiment with dark or milk chocolate variations. Remember to cool the bars completely before slicing to ensure clean edges and a well-set texture.
These Chocolate Chip Cherry Bars are versatile for different occasions, from picnics to lunchbox treats. To make ahead for busy times, bake the bars as directed, cool them completely, wrap tightly in foil, and freeze. Easily reheat slices in the microwave or oven for a quick and delicious dessert on hand whenever needed.
Ingredient Substitutions
If you don’t have fresh or frozen cherries, you can substitute them with other berries like blueberries or raspberries as suggested in the recipe. These berries will also provide a burst of juicy fruitiness in the bars.
For a different flavor profile, consider using white chocolate chips instead of semi-sweet chocolate chips. The sweetness of white chocolate can complement the cherries or other berries well in these bars, adding a delicious twist to the recipe.
If you prefer a nuttier flavor, try using browned butter instead of regular melted butter. Browning the butter adds a rich, nutty taste that can enhance the overall flavor of the bars. Just be mindful of adjusting the cooking time slightly as browned butter may affect the baking process.
Serving Suggestions
For a creative serving suggestion, try cutting the chocolate chip cherry bars into smaller squares and layering them with whipped cream and fresh cherries in a trifle dish. This will create a stunning dessert presentation that’s perfect for parties or special occasions.
Another idea is to crumble the bars and use them as a topping for vanilla yogurt or ice cream. The combination of the chewy bars with the creamy texture of the dessert creates a delightful contrast that will impress your guests.
FAQs for Delicious Chocolate Chip Cherry Bars Recipe
Can I use frozen cherries in this recipe?
Yes, frozen cherries work well. There’s no need to thaw them; just fold them in as instructed, adding a few extra minutes to baking if needed.
Can I use a different type of chocolate chips?
Semi-sweet chocolate chips are recommended for a balanced flavor, but you can try dark or milk chocolate variations too.
How should I store these chocolate chip cherry bars?
Store them in an airtight container at room temperature or in the fridge for up to a week. They also freeze well for longer storage.
Can I substitute the all-purpose flour with a gluten-free option?
Substitute the all-purpose flour with a gluten-free blend for similar results. Check the package for best substitution ratios.
Conclusion
With their delightful mix of chewy, gooey, and fruity goodness, Chocolate Chip Cherry Bars are sure to become a staple in your baking repertoire. These bars are not just a treat; they are a vessel of memories, a tradition in the making, and a delight for any occasion.
Whether you are baking these for a festive gathering, a cozy night in, or simply to treat yourself, the Chocolate Chip Cherry Bars will always bring smiles and a touch of nostalgia. So keep this recipe close, experiment with different variations, and watch as these bars become a beloved favorite in your home. Enjoy the process, savor each bite, and share the joy of these irresistible Chocolate Chip Cherry Bars with your loved ones. Happy baking!
📌 Pin for later!
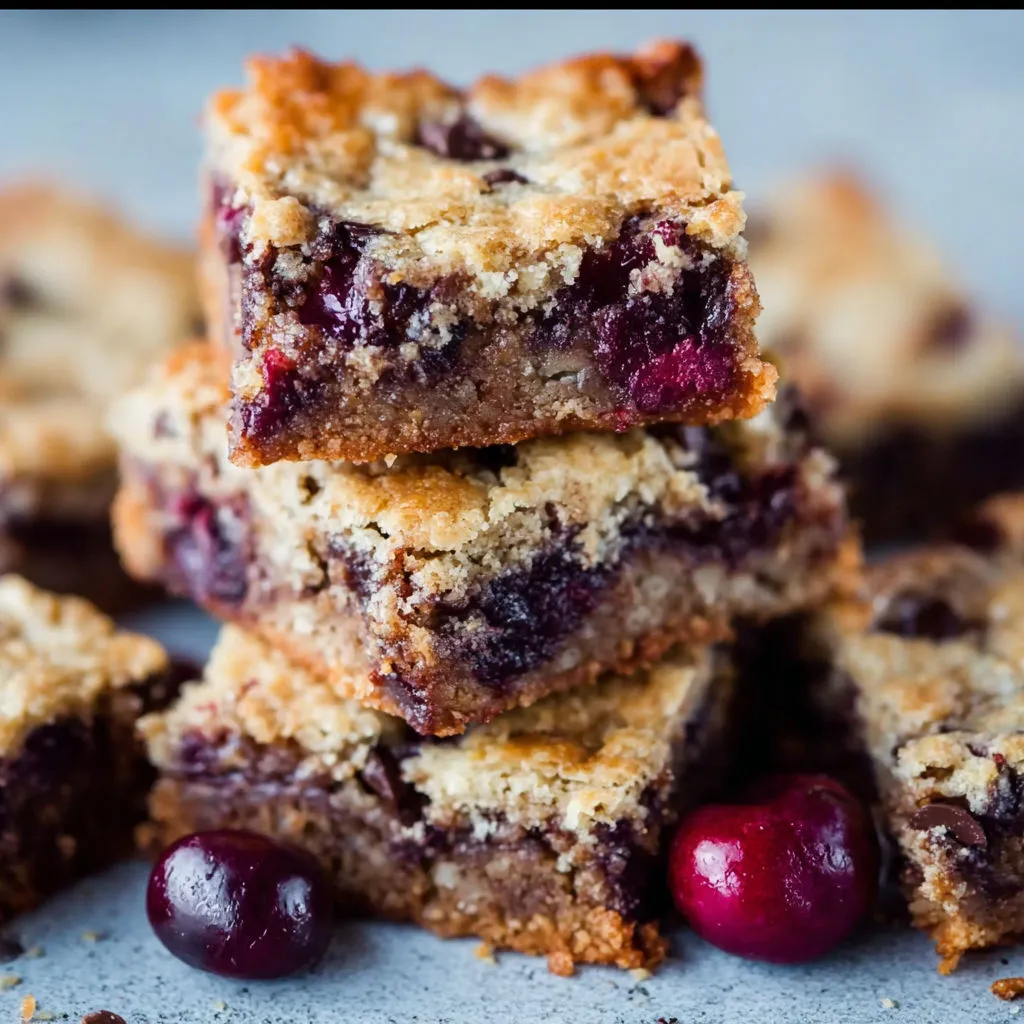
Delicious Chocolate Chip Cherry Bars Recipe
Chewy edges, gooey center, and bursts of real cherries in these Chocolate Chip Cherry Bars make them a nostalgic and crowd-pleasing treat.
Prep Time15 min
Cook Time30 min
Total Time45 min
CuisineAmerican
Skill LevelEasy
Servings16 Servings (16 bars)
Ingredients
Wet Ingredients
- 2 teaspoons vanilla extract
- 1 cup light brown sugar, packed
- 1 large egg
- 0.5 cup unsalted butter, melted
Dry Ingredients
- 1 cup all-purpose flour
- 0.25 teaspoon salt
Mix-ins
- 0.75 to 1 cup semi-sweet chocolate chips
- 1 cup cherries, fresh or frozen, left whole
Instructions
-
Prepare Baking Pan: Preheat oven to 350°F. Line an 8 x 8 inch baking pan with aluminum foil and lightly spray with nonstick spray. Set aside.
-
Melt Butter: In a medium microwave-safe bowl, melt unsalted butter for about 60 seconds.
-
Combine Wet Ingredients: Combine packed light brown sugar with melted butter, stirring until blended. Add the egg and vanilla extract, mixing until fully incorporated.
-
Add Dry Ingredients: Gently combine all-purpose flour and salt into the mixture, being careful not to over-mix.
-
Incorporate Mix-ins: Carefully mix in semi-sweet chocolate chips and whole cherries. Pour the batter into the prepared pan and level the top.
-
Bake: Bake for 27 to 32 minutes until edges slightly separate from the pan and the center is firm.
-
Cool and Serve: Let cool in the pan for a minimum of 1 hour before cutting into bars and serving.