Follow Me On Social Media!

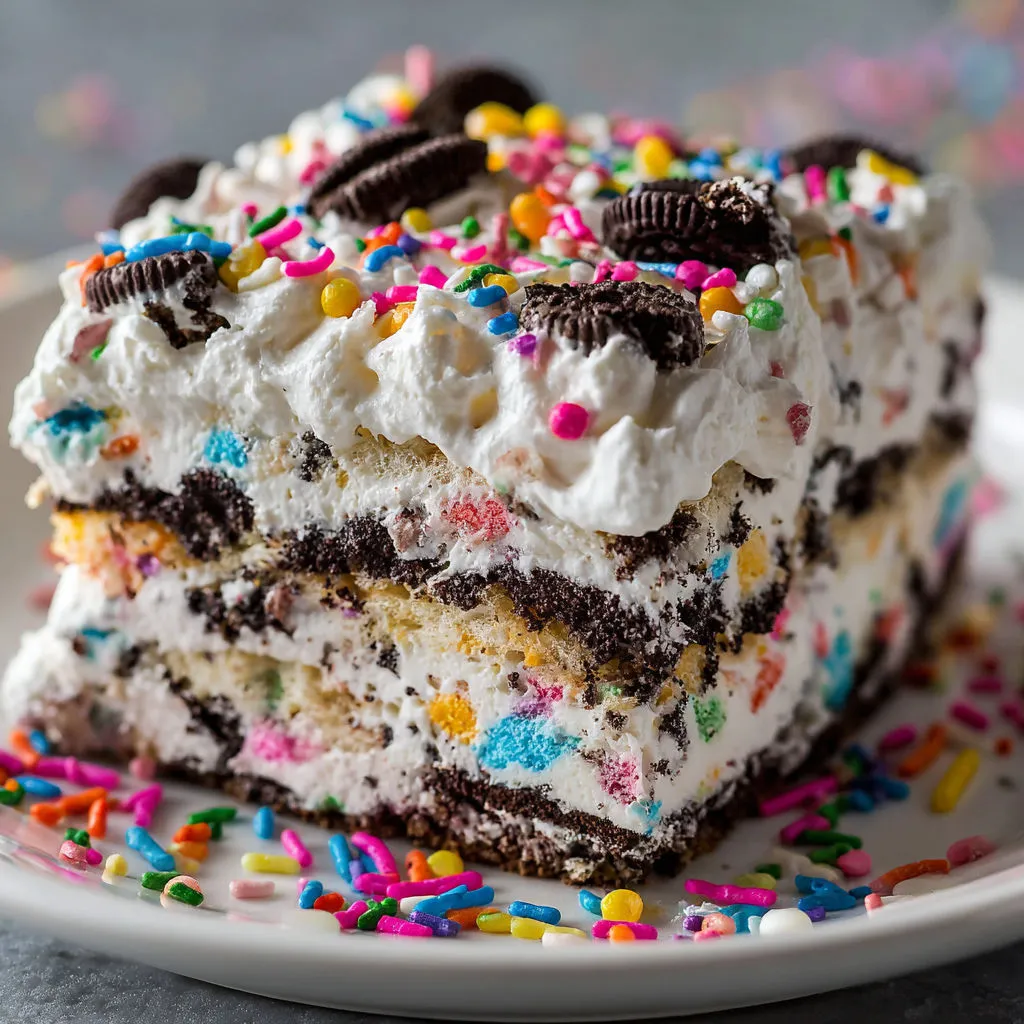
Get ready to elevate your dessert game with this irresistible No-Bake Funfetti Oreo Icebox creation! Layering soft birthday cake Oreos with a luscious blend of whipped cream, cream cheese, and a sprinkle of rainbow confetti, this cake is a guaranteed showstopper at any celebration. The best part? No oven needed!
I first whipped up this delightful treat on a lazy afternoon, and let me tell you, the rave reviews were endless. The magic happens as the Oreo cookies soak up the creamy goodness, creating a texture that is pure bliss. As you assemble each layer, the flavors blend harmoniously, bringing back memories of childhood gatherings filled with laughter and, of course, sprinkles everywhere.
So, whether you’re hosting a summer cookout or craving a sweet indulgence, this No-Bake Funfetti Oreo Icebox cake is a must-try. Chill it thoroughly, serve it cold, and get ready to savor every moment of joy in each delicious bite.
Quick Benefits
- Birthday Cake Oreos add extra sweetness and a fun, celebratory touch to the dessert
- Using heavy cream ensures a rich and decadent texture for the layers
- Cake mix provides a signature cake flavor, but it can be customized with additional sugar and vanilla if needed
- Best prepared in advance to allow the layers to set and flavors to meld in the refrigerator
Why You’ll Love This Funfetti Oreo Icebox Cake Recipe Recipe
- No-bake recipe – perfect for hot days and lazy afternoons, no need to turn on the oven
- Layers of birthday cake Oreos, whipped cream, and cream cheese create a delicious and nostalgic flavor combination
- Fun and festive with rainbow sprinkles throughout, making it a great dessert for celebrations and parties
- Easy to customize – swap ingredients for dietary restrictions or adjust sweetness levels to suit your preferences
- Can be made ahead of time and stored in the freezer for up to a month, making it a convenient and versatile dessert option
- Each slice is creamy and picture-perfect when thoroughly chilled, ensuring a delightful and refreshing treat
- Adaptable recipe – use different sandwich cookies or toppings to create your own unique version of this delightful icebox cake.
Ingredients for Funfetti Oreo Icebox Cake Recipe
Main Ingredients
- 1 package (about 36) Birthday Cake Oreos
- 1/2 cup dry white cake mix
- 1/2 cup confectioners’ sugar
- 2 cups heavy whipping cream
- 1/4 cup rainbow sprinkles (jimmies)
- 1 teaspoon vanilla extract
- 1/3 cup granulated sugar
- 1 cup whole milk
- 8 ounces cream cheese, softened
Decoration (optional)
- Extra whipped cream
- Additional rainbow sprinkles
Pro Tips for Funfetti Oreo Icebox Cake Recipe
For a picture-perfect and creamy slice of No-Bake Funfetti Oreo Icebox Cake, make sure to chill it thoroughly before serving. This will ensure that each layer sets nicely for a delightful texture. Additionally, using Birthday Cake Oreos adds extra sweetness, but feel free to use any sandwich cookie you prefer to customize the flavors of this delicious dessert.
To save time on the day of the celebration, it’s recommended to prepare the icebox cake the night before. Allowing the layers to set in the refrigerator for at least 4-6 hours will result in a perfectly creamy and flavorful dessert. If you don’t have cake mix on hand, a simple substitution with a bit more sugar and vanilla can still provide the sweetness you desire. Lastly, if you prefer a slightly less sweet version, consider swapping out some confectioners’ sugar for additional cream cheese. Enjoy the party in every bite of this delightful treat!
How to Make Funfetti Oreo Icebox Cake Recipe
Step 1: Prepare Whipped Cream
In a large mixing bowl, use an electric mixer to beat heavy whipping cream until soft peaks form. Add confectioners’ sugar and dry white cake mix, beat until stiff peaks form. Gently fold in rainbow sprinkles. Set aside.
Step 2: Combine Cream Cheese Mixture
In a separate bowl, mix softened cream cheese with granulated sugar and vanilla extract until smooth. Fold in the whipped cream mixture until well combined.
Step 3: Layer the Components
Grease a 9-inch springform pan. Spread a thin layer of cream mixture on the base. Dip Oreos in milk briefly, then arrange a single layer of cookies over the cream. Top with one-third of the remaining cream mixture. Repeat layering cookies and cream mixture twice more, ending with a cream layer on top.
Step 4: Chill and Set
Chill the pan covered for at least 4 to 6 hours, or overnight, to set the layers and blend flavors.
Step 5: Finish and Serve
Prior to serving, top with more whipped cream and additional rainbow sprinkles to taste. Serve cold for optimal consistency.
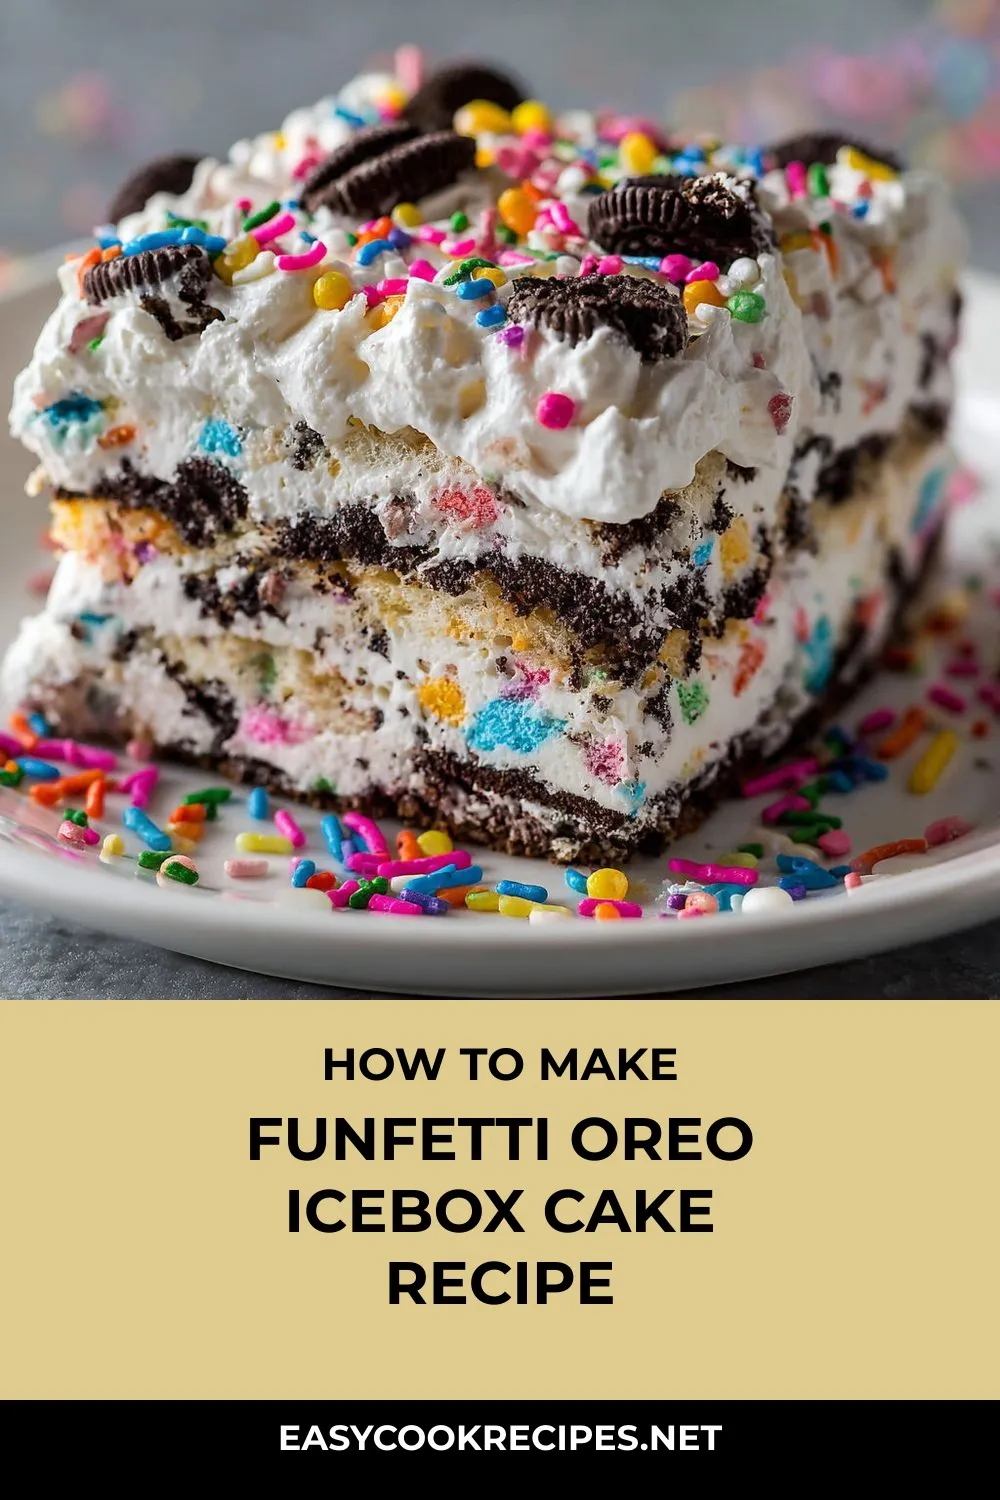
📌 Pin for later!
Storage Tips
To store the No-Bake Funfetti Oreo Icebox Cake, cover the springform pan tightly with plastic wrap and refrigerate. For longer storage, transfer individual slices to an airtight container. The texture holds best when consumed within three days. For freezing, wrap tightly in plastic and freeze for up to one month. Thaw overnight in the fridge for best results before serving.
The No-Bake Funfetti Oreo Icebox Cake can be adapted to accommodate different dietary needs. Use regular golden Oreos if birthday cake Oreos are unavailable, and adjust the sweetness by swapping some confectioners’ sugar for more cream cheese. The cake mix adds a signature flavor, but you can omit it and increase the vanilla extract if needed. You can also make gluten-free and dairy-free versions using suitable ingredients.
For serving, chill the cake thoroughly for the best texture and presentation. Enjoy each slice cold, especially on a hot day, and consider adding strawberry slices or colored candles for a fun presentation. Leftover slices make a delightful afternoon snack with coffee or tea.
Ingredient Substitutions
If you don’t have Birthday Cake Oreos, regular golden Oreos with extra sprinkles can be a suitable substitute. Consider using stabilized whipped topping or coconut cream instead of heavy cream for a dairy-free alternative. If you’re out of dry white cake mix, you can enhance the vanilla flavor with a bit more sugar and vanilla extract, or even almond extract for a different twist. For those with gluten allergies, gluten-free sandwich cookies can be used seamlessly in this recipe.
To make the dessert less sweet, reduce the confectioners’ sugar and increase the amount of cream cheese. For a different flavor profile, consider adding chocolate shavings or edible glitter as a festive touch when serving. When storing leftovers, freezing individual slices can help preserve the cake’s texture, ensuring it can be enjoyed for up to a month. Remember to thaw slices in the refrigerator for the best results before serving.
Serving Suggestions
To serve this delightful No-Bake Funfetti Oreo Icebox Cake, consider adding a dollop of extra whipped cream on top of each slice and sprinkling some additional rainbow sprinkles for a pop of color and crunch. For a festive touch, decorate each slice with colored birthday candles to make it feel like a celebration every time it’s served. Pair each slice with fresh strawberry slices on the side for a refreshing and fruity complement to the creamy and sweet cake. This cake is perfect for hot days when served extra cold, making it a crowd-pleaser at any party or gathering.
For a cozy afternoon treat, enjoy leftover slices of the No-Bake Funfetti Oreo Icebox Cake with a cup of coffee or tea. The creamy texture and sweet flavors make it a delightful snack to savor. You can also freeze individual slices wrapped tightly in plastic for up to a month, making it convenient to have a slice of this delicious cake whenever a craving strikes. Thaw overnight in the fridge for the best results, ensuring that each slice maintains its creamy and decadent quality.
FAQs for Funfetti Oreo Icebox Cake Recipe
Can I use regular Oreos instead of Birthday Cake Oreos for this recipe?
Yes, you can use regular golden Oreos as a substitute for Birthday Cake Oreos. Simply add a few extra spoonfuls of sprinkles to the filling to maintain the funfetti effect.
What can I use if I can’t find heavy whipping cream for this recipe?
If heavy whipping cream is unavailable, you can opt for stabilized whipped topping or coconut cream as alternatives. However, heavy cream provides the best texture for this no-bake icebox cake.
What can I use as a substitute for dry white cake mix?
If you don’t have dry white cake mix on hand, you can increase the amount of sugar and vanilla in the recipe to enhance the sweetness. The cake mix adds a signature flavor, but it can be omitted if needed.
How far in advance can I prepare this No-Bake Funfetti Oreo Icebox Cake?
It’s best to prepare this cake the night before you plan to serve it. Allow at least 4-6 hours for the layers to set in the refrigerator, ensuring a creamy and picture-perfect slice.
Conclusion
As you savor each creamy bite of this delightful No-Bake Funfetti Oreo Icebox creation, I hope it brings a smile to your face and warmth to your heart. Whether you’re celebrating a special occasion or simply indulging in a sweet treat on a lazy afternoon, this dessert is sure to delight your taste buds and transport you back to carefree moments of childhood joy. The colorful sprinkles, soft Oreo texture, and luscious layers of cream cheese filling all come together to create a truly magical experience.
Remember, the beauty of this No-Bake Funfetti Oreo Icebox cake lies not just in its delicious flavors but also in the memories it can help create. Share it with loved ones at a gathering, surprise someone with a slice adorned with candles, or simply treat yourself to a moment of bliss. However you choose to enjoy it, may each slice be a reminder of the simple joys in life and the happiness that comes from sharing good food with good company. So whip up another batch, chill it to perfection, and let the celebration continue with every mouthwatering bite of this No-Bake Funfetti Oreo Icebox delight!
📌 Pin for later!
Funfetti Oreo Icebox Cake Recipe
Celebrate with layers of Birthday Cake Oreos, creamy filling, and rainbow sprinkles in this nostalgic No-Bake Funfetti Oreo Icebox Cake.
Prep Time20 min
Cook Time~ undefined
Total Time20 min
CuisineAmerican
Skill LevelEasy
Servings12 Servings (One 9-inch cake, serves 12)
Ingredients
Main Ingredients
- 1 package (about 36) Birthday Cake Oreos
- 1/2 cup dry white cake mix
- 1/2 cup confectioners’ sugar
- 2 cups heavy whipping cream
- 1/4 cup rainbow sprinkles (jimmies)
- 1 teaspoon vanilla extract
- 1/3 cup granulated sugar
- 1 cup whole milk
- 8 ounces cream cheese, softened
Decoration (optional)
- Extra whipped cream
- Additional rainbow sprinkles
Instructions
-
Prepare Whipped Cream: In a large mixing bowl, use an electric mixer to beat heavy whipping cream until soft peaks form. Add confectioners’ sugar and dry white cake mix, beat until stiff peaks form. Gently fold in rainbow sprinkles. Set aside.
-
Combine Cream Cheese Mixture: In a separate bowl, mix softened cream cheese with granulated sugar and vanilla extract until smooth. Fold in the whipped cream mixture until well combined.
-
Layer the Components: Grease a 9-inch springform pan. Spread a thin layer of cream mixture on the base. Dip Oreos in milk briefly, then arrange a single layer of cookies over the cream. Top with one-third of the remaining cream mixture. Repeat layering cookies and cream mixture twice more, ending with a cream layer on top.
-
Chill and Set: Chill the pan covered for at least 4 to 6 hours, or overnight, to set the layers and blend flavors.
-
Finish and Serve: Prior to serving, top with more whipped cream and additional rainbow sprinkles to taste. Serve cold for optimal consistency.